<update>
Windows 10 now supports SSH natively. To enable the feature in Windows 10 ( still in Beta ) go to “Manage optional features” in your Start Menu, and then click on on “Add a feature”:
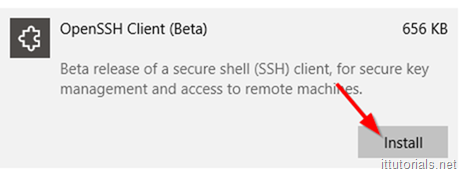
scroll to the bottom, and then select “OpenSSH Client ( Beta )” and then click on Install:
wait for a few seconds, and then open your Command Prompt and type “ssh” to make sure it is installed. ( Open the command prompt as “administrator” if it doesn’t work when you open the shell the first time “
</update>
As you probably already know, you can enable Bash on Windows 10 by installing the Windows subsystem for Linux using the remove/add features in control panel. That will install a trimmed down version of Ubuntu, but if you just want SSH on your computer without loading a bunch of unnecessary stuff, there is an easier and lighter way of doing that using the OpenSSH client for Windows.
Head over to this website and download the latest version of OpenSSH. At the time of this writing the latest version is 7-3-p1-2.
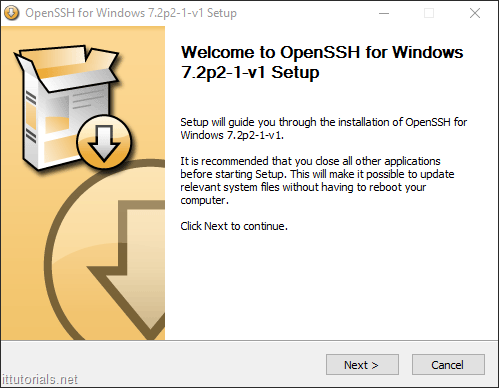
Once you have downloaded the package, execute it.
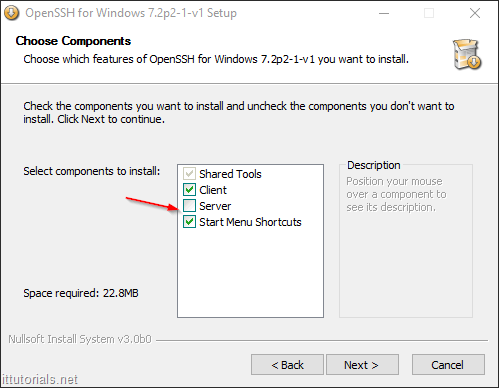
Click Next and accept the agreement on the following screen. Uncheck “Server” from the component list on the next screen:
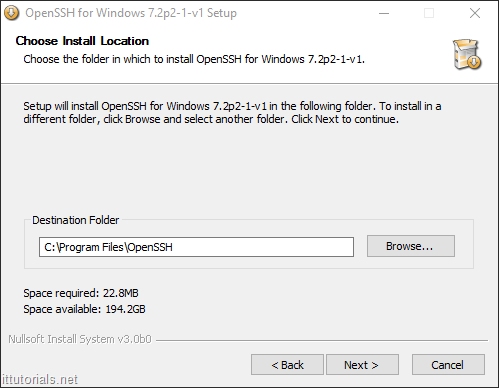
Choose the path where you want to install it:
Click Next and Next on the following screen, and then Finish.
Open the Command Prompt and type ssh and you should see that ssh is now enabled on your command prompt.. cool, uh.


