If you want to inject some branding to your Lenovo laptops by customizing the BIOS splash screen image then here is a quick tutorial on how you can do that.
Table of Contents
Download the BIOS update utility
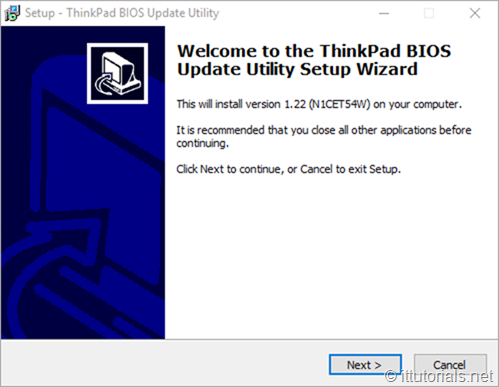
Download the BIOS Update Utility from the Lenovo support website and extract the files:
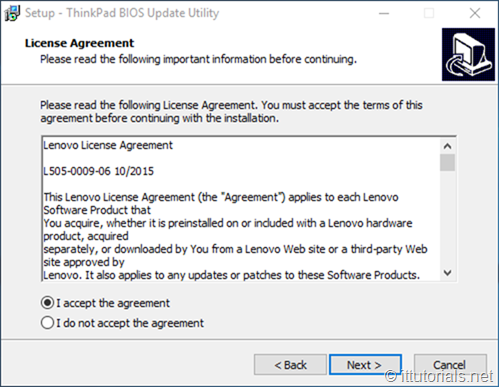
Click Next and accept the agreement:
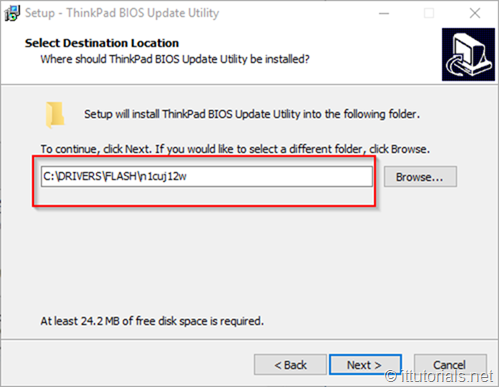
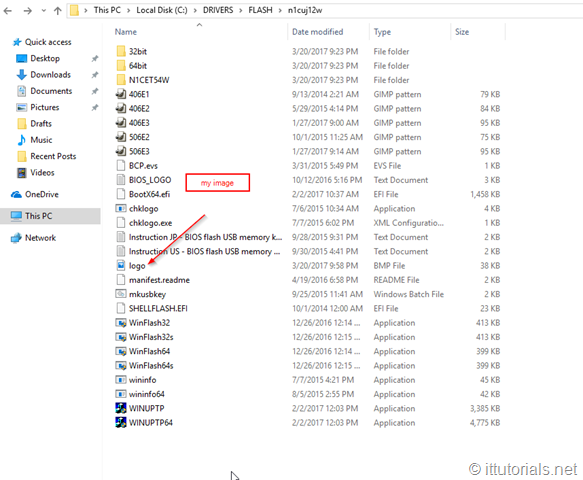
Take note of the path where the files will be extracted to:
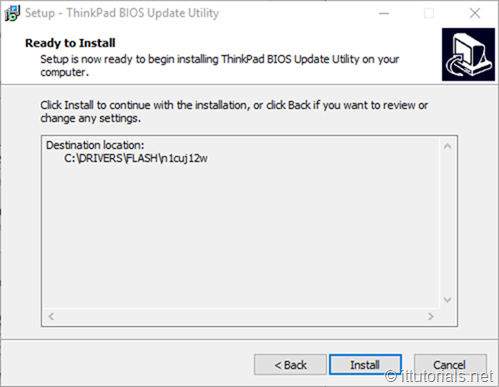
Click Next again and the click on Install:
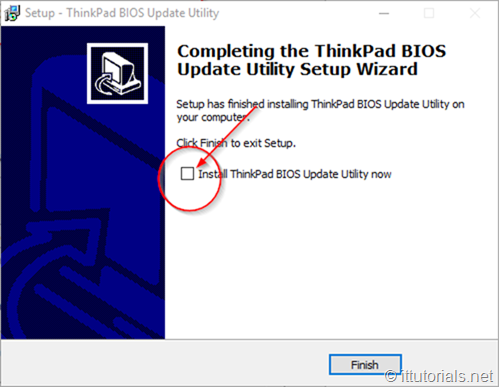
Make sure you do not install the BIOS update on the last screen:
click on Finish.
Prepare the image
guidelines for the creation of the custom image :
- image file size are limited to 60kb
valid image formats are as follows:
- (.bmp) jpeg (.jpg) gif (.gif)
- file format image width and height should be less or equal to 40% of the built-in lcd panel resolution. (ex. if lcd panel resolution is 1920 x 1080, image width and height should be 768 x 432 or less)
To edit the image you can use https://www.gimp.org/ that’s what I use to edit my images. I created an image size 500×150. Now we need to make this image file size smaller than 60K. that would be a challenge! The only way I found to compress the image this small in GIMP is by going to Image > Mode > indexed and then choosing “ Use-Web optimized palette: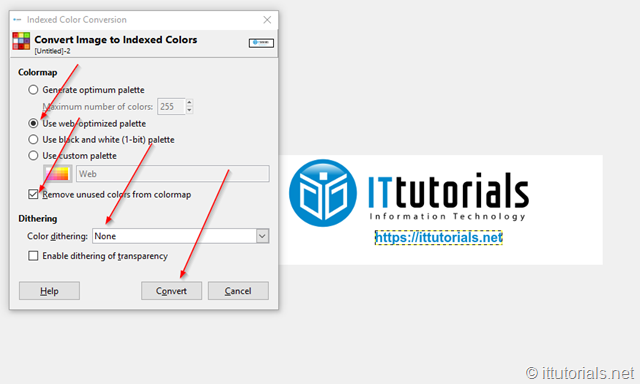
Click on Convert and the export the image as one of the compatible formats listed above remember to name the image as “logo”
Flash the image
copy the image into the folder we extracted above. for example, the path of the folder I extracted is at C:\DRIVERS\FLASH\n1cuj12w ( this folder name might different for you )
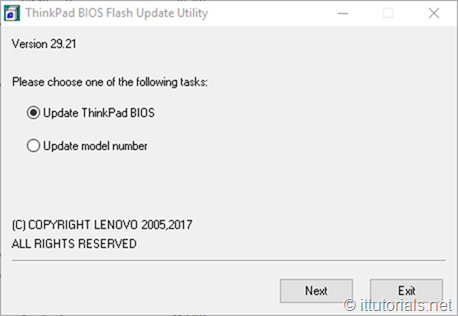
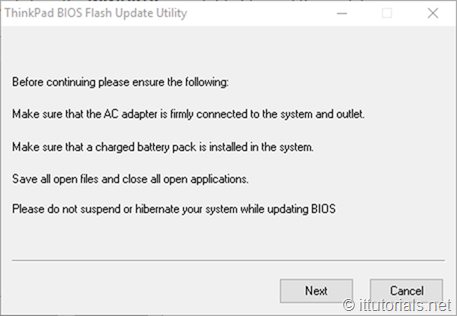
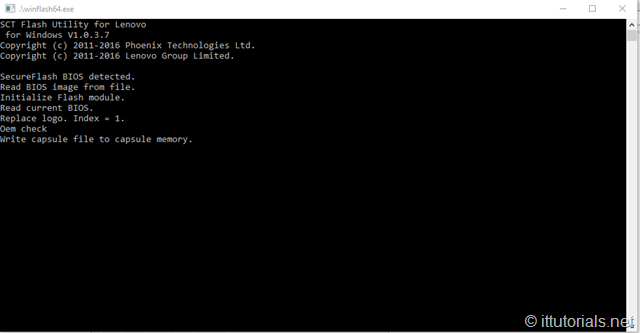
After you have copied the logo to this folder, click on the WINUPTP executable file, and the update utility should come up:
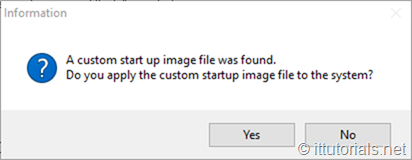
click on Next. it will prompt you saying that a custom startup image was found:
click Yes
Make sure your laptop is connected to a power source ( not running on battery before doing the update) :
Click Next
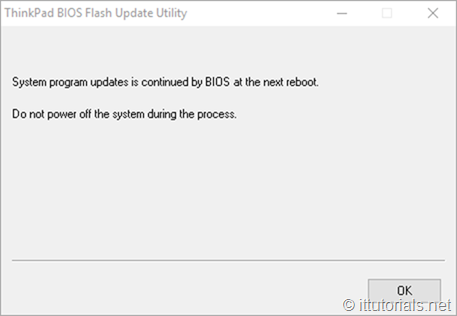
And then it should say the update will continue at next reboot
Click on OK and reboot the computer
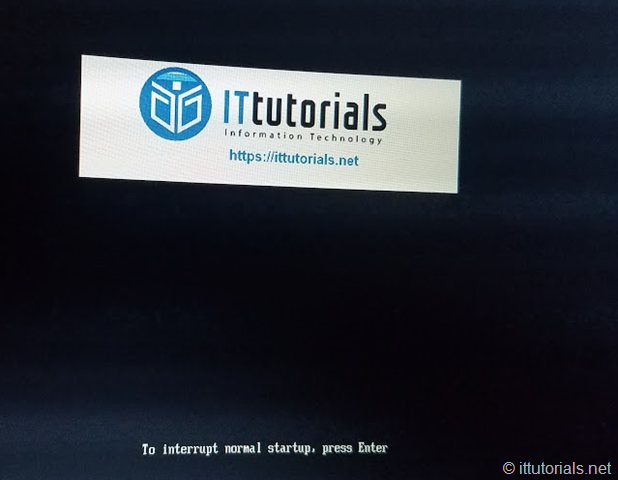
after your computer finish with the BIOS update you should see your custom logo image at the startup screen:
Cool, uh.


