Table of Contents
Quick wireless connection
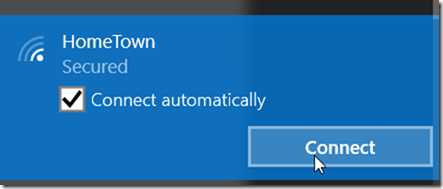
Connecting to a wireless access point in Windows 10 is easy. Just click on the wireless icon ![]() on the notification system panel, select the wireless access point you want to connect to, and click on Connect:
on the notification system panel, select the wireless access point you want to connect to, and click on Connect:
if the wireless access point is secure you will be asked for the password.
Creating a manual wireless profile
If your wireless access point is hidden or for any other reason you need to connect manually to a wireless access point, this is how you do it. Right-click the wireless icon in the status bar ![]() and choose Open Network and Sharing Center:
and choose Open Network and Sharing Center:
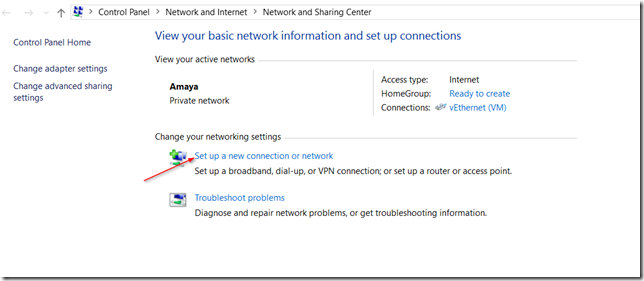
Then click on Set up a new connection or network
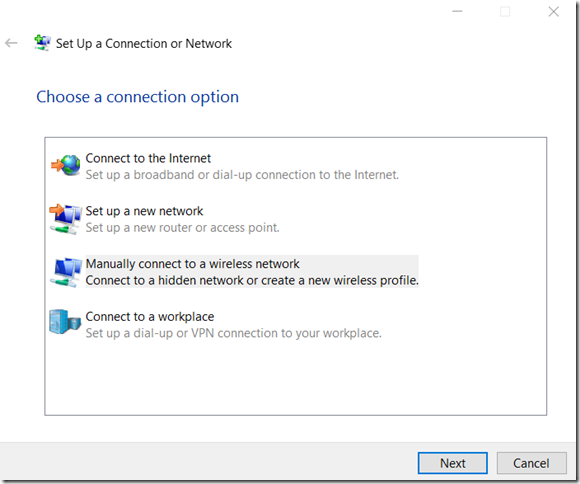
click on Manually connect to a wireless network
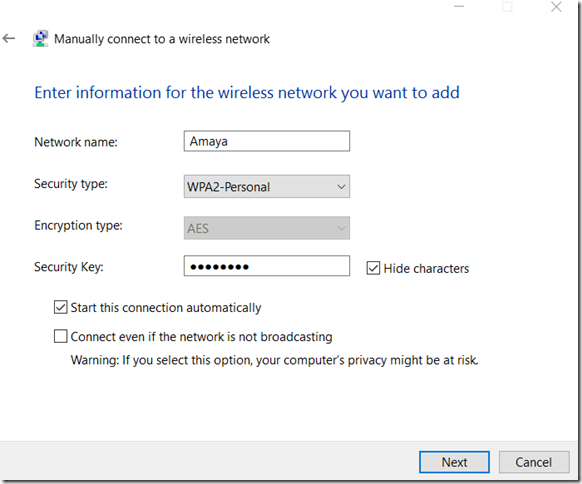
Then on the next screen enter the Network Name, Security type, Encryption type, and the Security key:
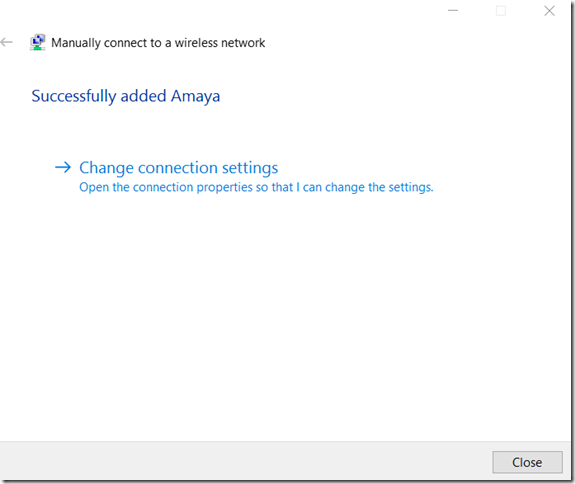
Make sure you check Start this connection automatically if you need to. If you need to setup a Enterprise connection most likely you need to click on Change connection settings on the next screen:
otherwise click on Close.
Forget a wireless connection.
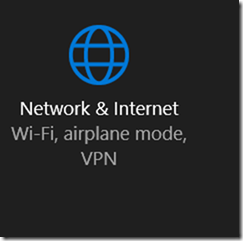
If you need to “forget” a wireless connection you might have used in the past then click on Start button and then go to Settings and then click on the Network & Internet icon:
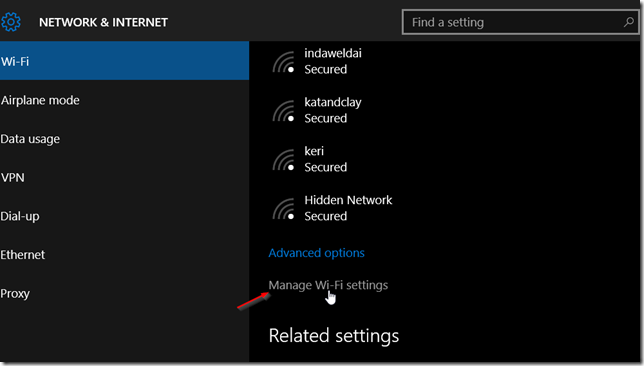
Then under WI-FI scroll down to the bottom and click on Manage WI-FI settings
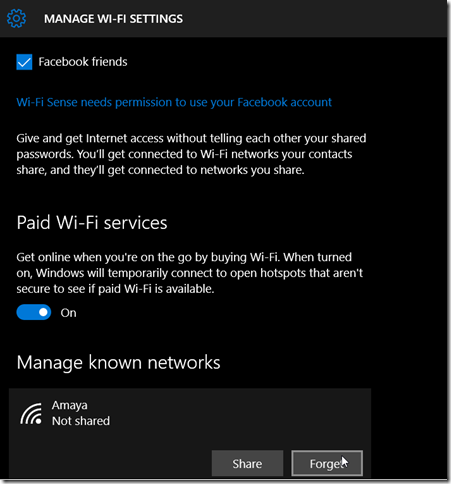
Then scroll down again, and under “manage known networks” you should see a list of WIFI connections your computer have connected to. click on the wireless connection you want to forget and then click on Forget
That’s it. that’s how you manage your wireless profiles in Windows 10.
Was this article helpful?
Your feedback helps us improve our content.
1 people found this helpful!


