

Today I will be installing Microsoft Server 2008 on VMware 2.0 for my testing lab; this server will eventually be my testing domain controller. Read my previous article How To Create a Virtual Machine on VMware 2.0 to get up to date on what we have been up to.
Table of Contents
Getting The Server Ready
If you don’t have Windows Server 2008, download the trial version from Microsoft from the following link http://www.microsoft.com/downloads/details.aspx?FamilyId=B6E99D4C-A40E-4FD2-A0F7-32212B520F50&WT.sp=_technet_,dcsjwb9vb00000c932fd0rjc7_5p3t&displaylang=en
You can use Windows 2008 in trial mode for up to 6 months.
Once you downloaded the ISO image, logon to your VMware Infrastructure Web Access, and click on the virtual machine you created following the tutorial above, then right click on theCD/DVD Drive and select Edit:
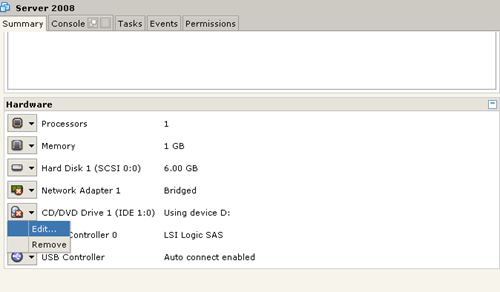
Then right at the bottom select ISO Image.
Minimize the browser and copy the Windows Server 2008 ISO Image you downloaded from Microsoft to your Virtual Machines directory. in my case that directory is at C:Virtual MachinesServer 2008. now go back to the browser again, and click on Browse and the Server 2008 ISO image should show up in the directory like the image below:
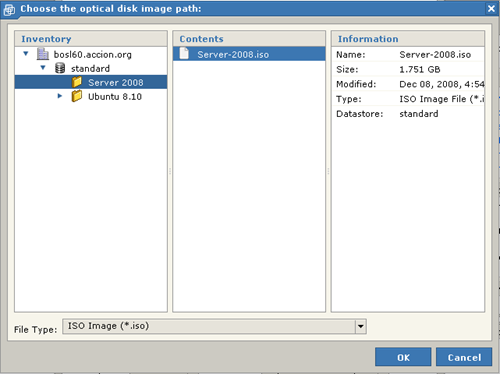
Select the ISO Image and click OK. now you should be ready to start.
Installing Windows 2008
Power up the virtual machine.
After a few seconds of loading, the following window should come up:
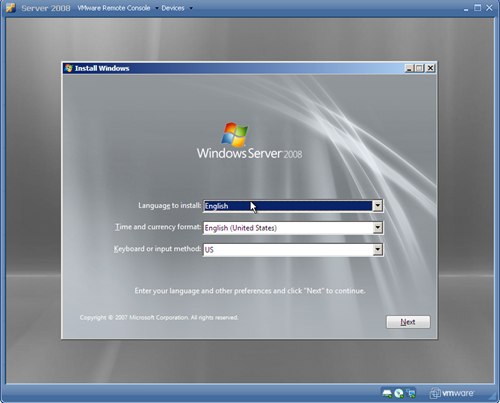
Choose your settings and click on Next.
The Install Now button will come up.
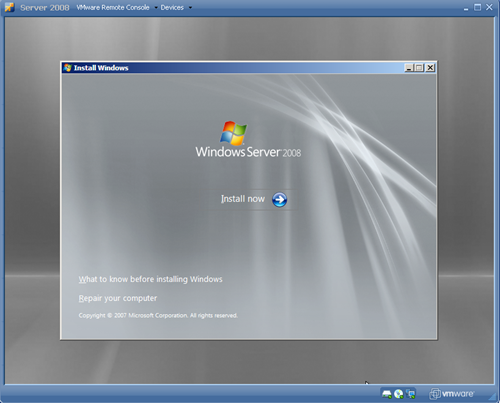
Click on Install Now.
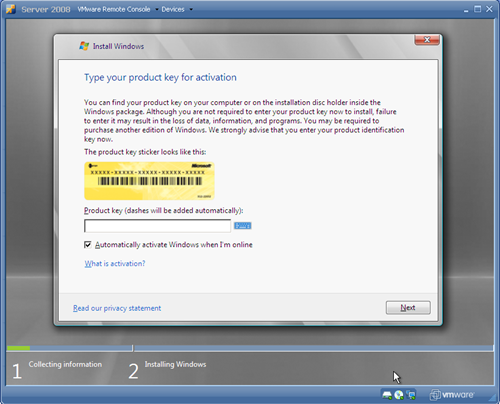
next, the activation button will come up. and because we don’t have an activation key for this server, we won’t put any. just click Next.
You will get the following warning:
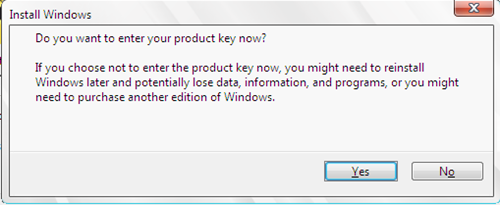
and assuming you are installing Windows Server 2008 just for testing clicking NO should be fine. otherwise you probably will need to buy a license when the trial period expires.
Next, select the edition of Windows you purchased ( downloaded) from Microsoft. Windows Server 2008 Standard ( Full Installation)
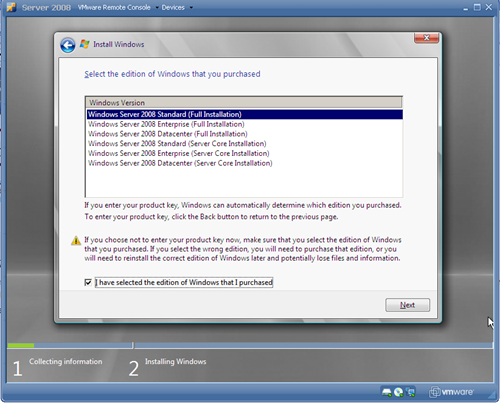
check “I have selected the edition of windows that I purchased” and click on Next.
Next, the license terms. check ” I accept the license terms”

Click on Next, after agreeing the license terms.
Next, choose the type of the installation you want. the Upgrade option should be grey-out, so choose the custom (advanced) options.

Choose, Custom (Advanced) option.
Next, Installer will ask you where you want to install Windows Server 2008. of course we only have one drive on the VM machine. so choose that:

click Next, after selecting your drive.
Windows should start installing at this point.

That should take awhile…

the above window should come up after windows rebooting.
Windows completing installation.

After awhile, windows will ask you that the password needs to be changed before logging in the first time:

Click OK.
choose your password for the administrator user.
After changing the password, windows should start preparing your desktop for the first time.

Wait a little bit, and windows will load.
Change time Zone On the Server
the first thing you should do when windows loads, is to change the time zone. on the Initial Configuration Task page that comes up the first time, click on Set Time Zone:

click on Change Time Zone on the window that pops up, and choose your zone, and click OK.
Now server 2008 should be installed on your VM machine.
Was this article helpful?
Your feedback helps us improve our content.
4 people found this helpful!