Windows Server 2016 hasn’t been released to the public for production yet. A technical preview version was released in November last year. if you want to learn what’s new and how to download the Window server 2016 technical preview ISO image, please look at this post What’s new in Windows Server 2016
In this tutorial I will go through the installation of Windows server 2016 using a VM in Hyper-v installed on my Windows 10 laptop. if you like to setup the same environment as me, please look at this post I wrote a few days ago https://ittutorials.net/install-hyper-v-hypervisor-in-windows-10 you can also burn the Windows Server 2016 ISO image to a DVD or flash drive, and boot your physical server or computer from it.
Table of Contents
Minimum requirements
To successfully complete the Windows server 2016 installation you need a physical or virtual machine server with the following resources:
- Processor Minimum: 1.4 GHz 64-bit processor
- RAM Minimum: 512 MB
- Storage Minimum 32GB
- Access to the Internet ( optional )
Windows Server 2016 Installation
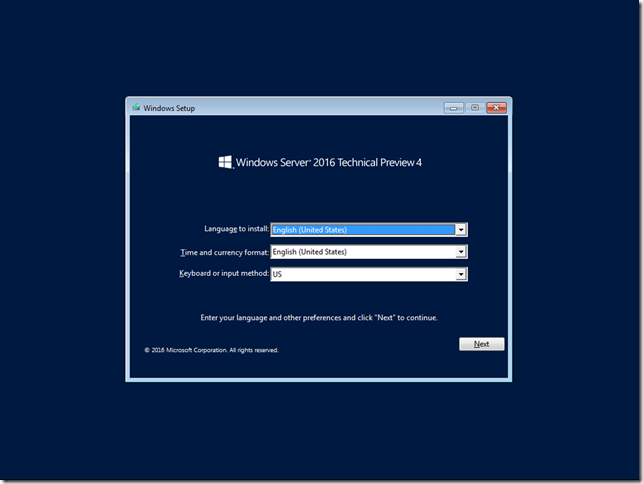
Let’s fire up our VM and start the installation. the first action screen we get after booting from the ISO is this:
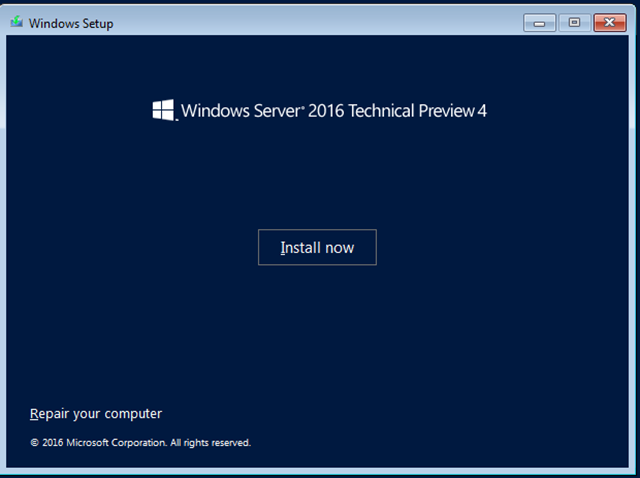
Just click Next and then click on Install in the following screen.
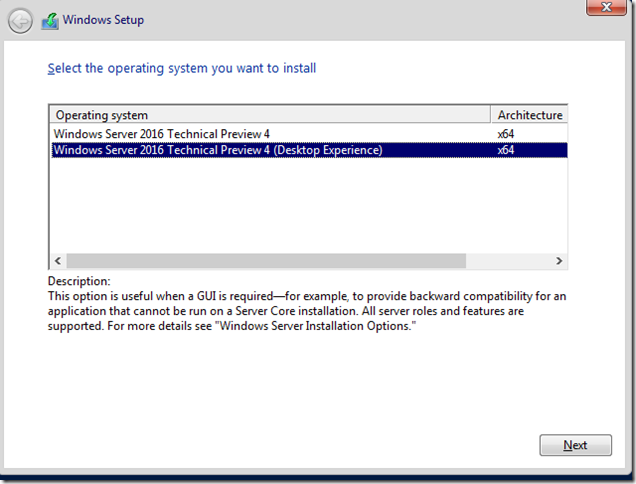
On the next screen you are asked if you want to run Windows Server 2016 in Core mode ( no GUI ) or with a Desktop Experience. make your choice and click on Next ( for this tutorial I will install the full GUI experience )
Accept the license agreement on the next screen, and click on Next:
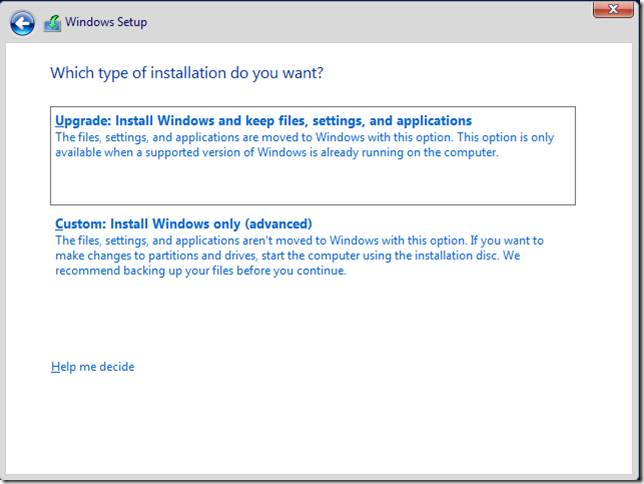
On the next screen choose between an upgrade or custom install. I am building this server from scratch, so I will select custom:
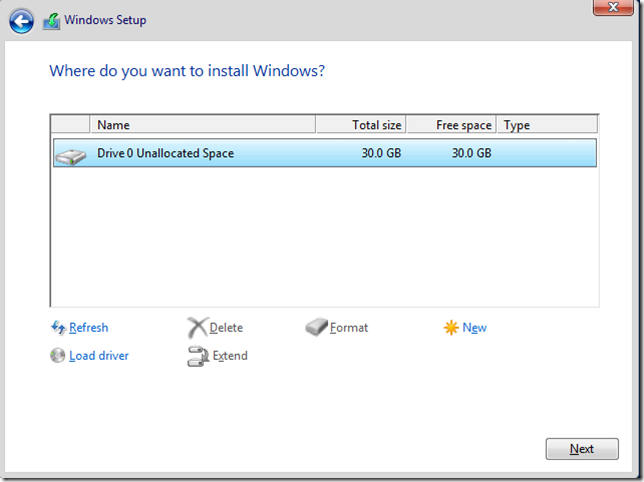
Select the drive where you want to install Windows server 2016 on the following screen and click on Next:
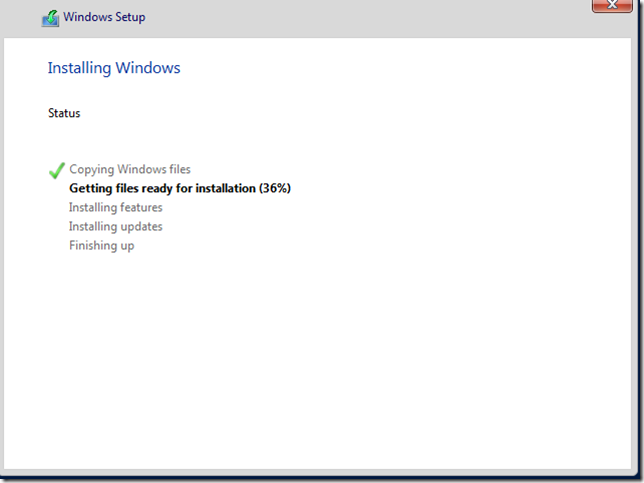
The installation will begin. so far the Windows Server 2016 installation is not much different than Windows server 2012.
Customizing the server
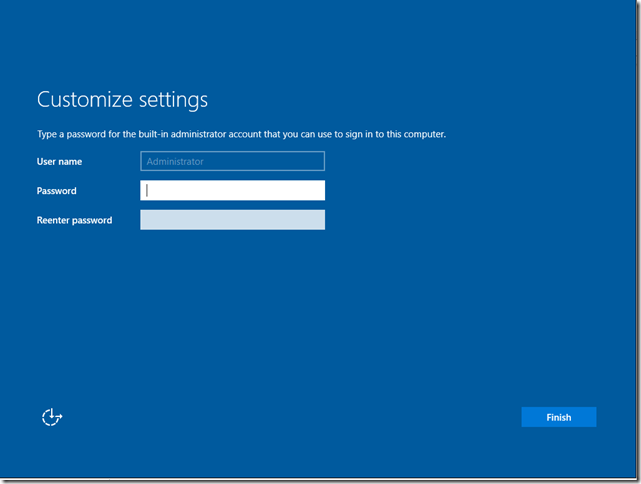
after a couple of automatic reboots, you will be asked to enter a password for the built-in administrator account:
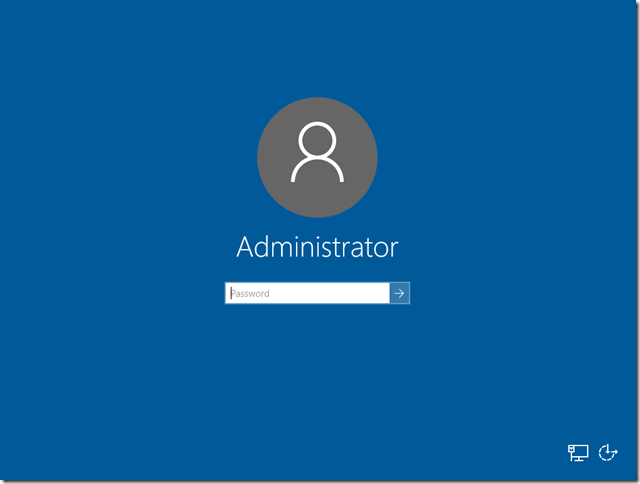
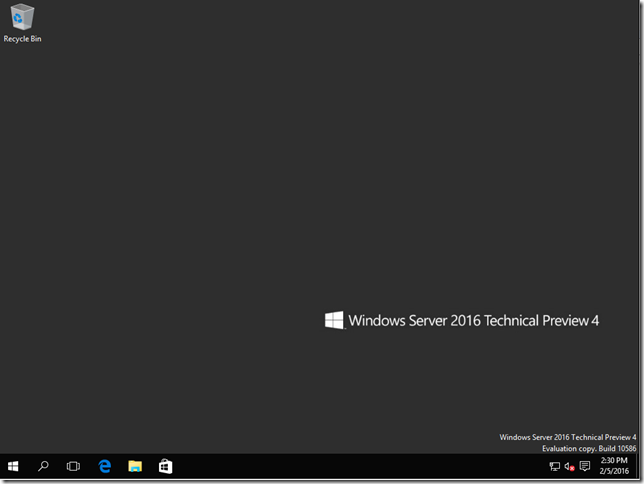
Enter a password for the administrator account, and click on Finish, and boom, you get the logon screen.
Enter your administrator password to login.
Check for Windows Update
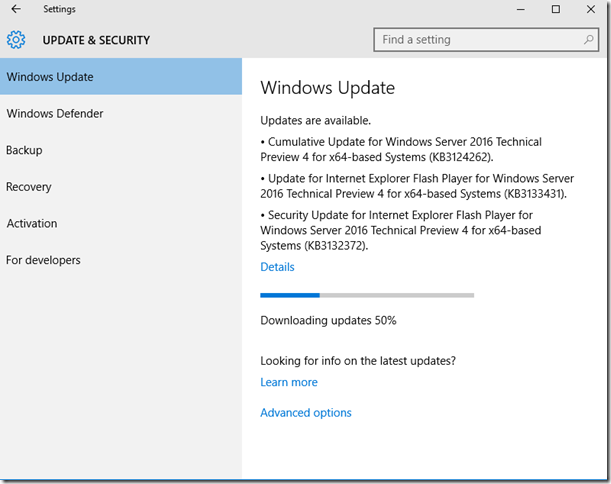
Taking into account this is a pre-release version of Windows Server 2016, there might be many updates that have been released through the Microsoft update channel since the ISO image was created, so the first thing you should do after installing the server is check for updates. just click on the Start button then Settings then click on Update & Security and then Windows Update:
Conclusion
I must say that I am very impressed on how smooth and simple this installation was. It seems like Windows Server 2016 does not use much resources and is very fast. The initial installation is very similar to Windows server 2012, but the desktop interface once the installation is completed is based on Windows 10.
Was this article helpful?
Your feedback helps us improve our content.
22 people found this helpful!


