Debian is probably one of the most stable Linux distribution as a desktop or server. All Debian Stable releases are supported for 5 years. Debian tries to strike a balance between stability and features. Most software packages in Debian are a bit dated compared to upstream packages. For example, in the current Debian Stable version which is Debian 9, the version of Apache is 2.4.25 while the latest version is 2.4.29. it might not look like a huge gap right now, but as time goes on the gap widens. You can always use alternate sources to upgrade Apache or any other package in Debian but I like to stick with the official package sources.
Hardware Requirements
As a minimum, you should have a VM or physical server with 512mb of memory and 2GB of hard drive space to install Debian and run a web server on it.
Downloading Debian
You can download Debian from this URL https://www.debian.org/CD/ there are many different images you can download to burn to a CD/DVD or USB stick. I downloaded the CD ISO debian-9.3.0-amd64-xfce-CD-1.iso file for this tutorial
Installing Debian
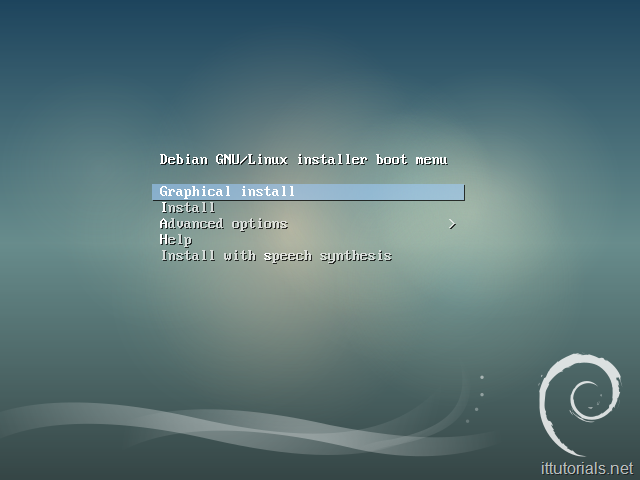
1) As soon as you boot from the CD/DVD or the USB stick containing the Debian image, you should see the welcome screen:
2) Choose “Graphical Install” from the options list and press Enter.
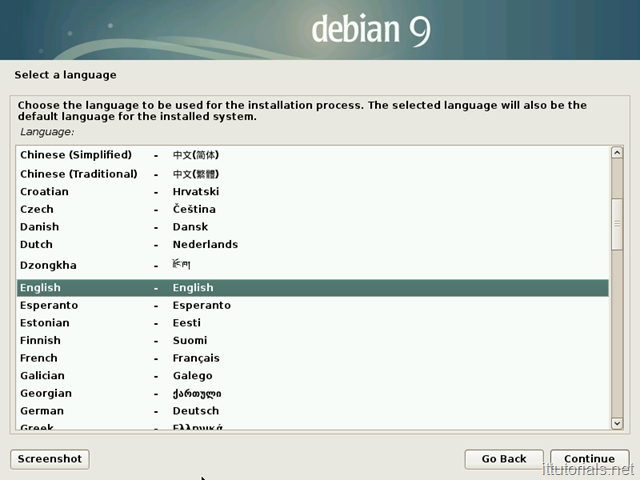
3) Pick your “Language” on the following screen:
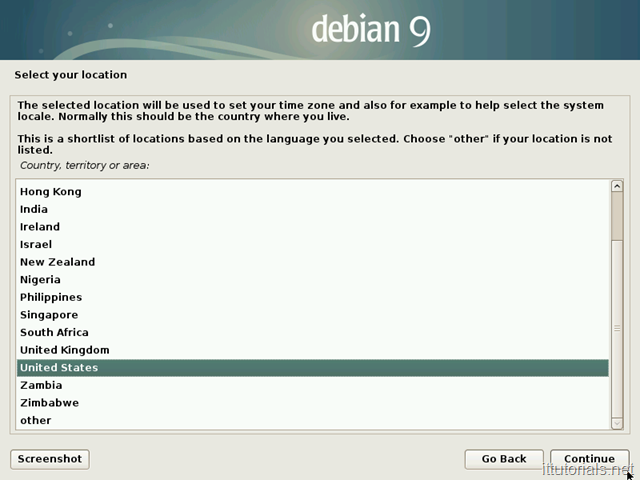
4) Select your Region
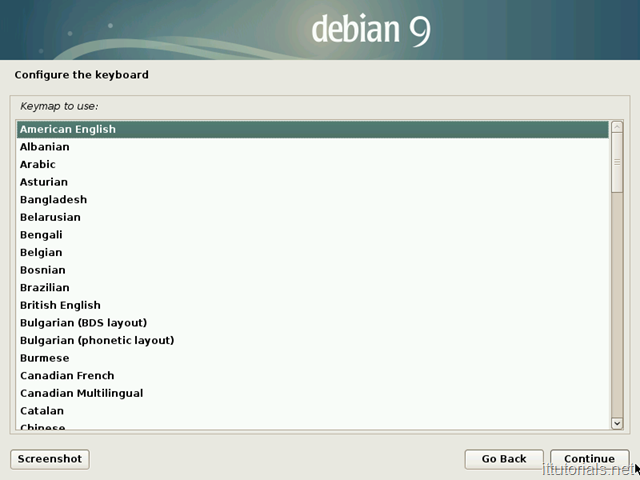
5) Select your Keyboard Layout:
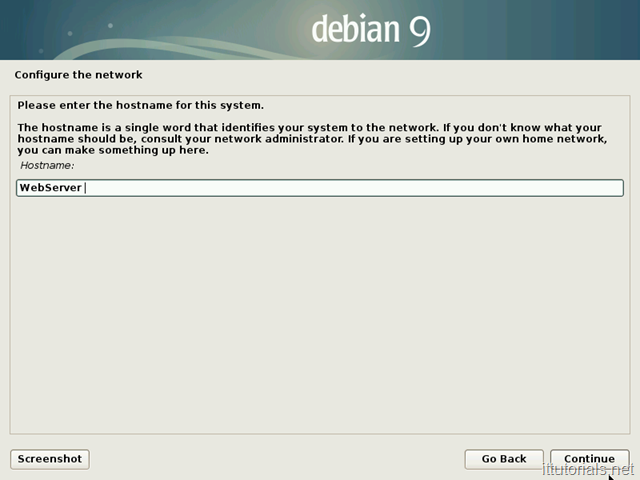
6) Enter a hostname:
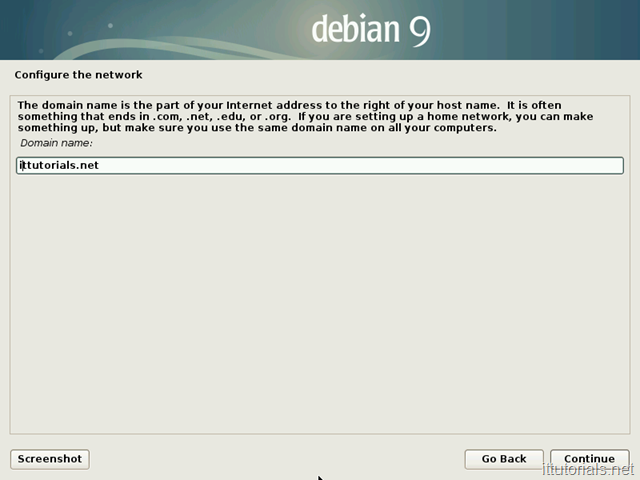
7) enter your domain name ( if you don’t have a domain, make something up)
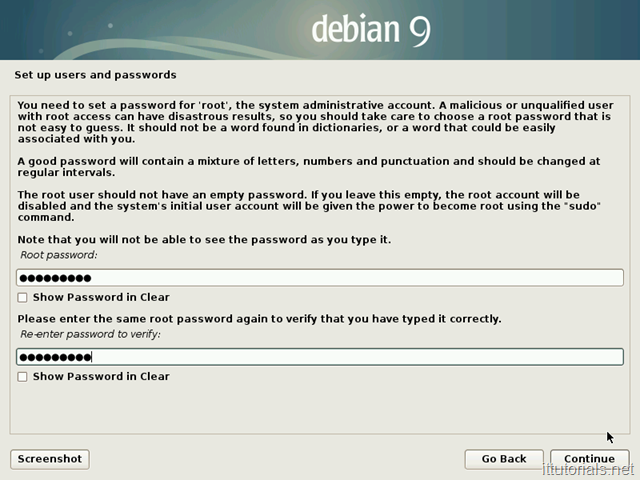
8) Choose your “root” password ( unlike most distributions out of there, Debian creates two accounts as default. The root account which is the one you will use to administrate the server, the regular user account to log in to the server )
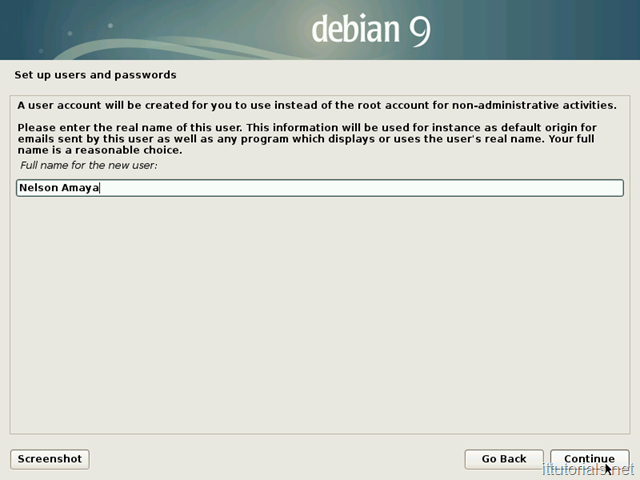
9) Enter your full name:
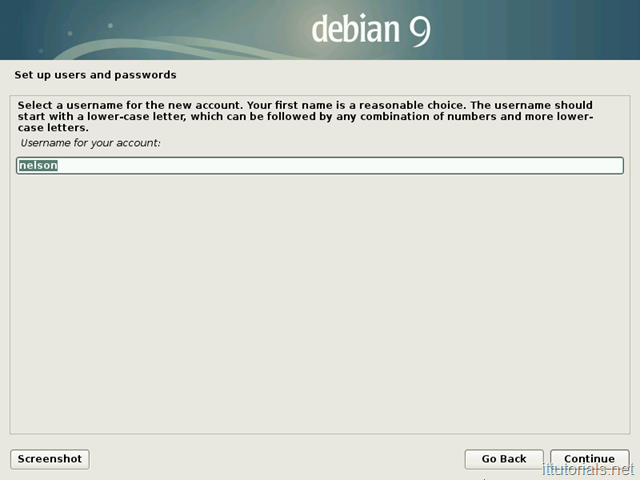
10) Choose your username:
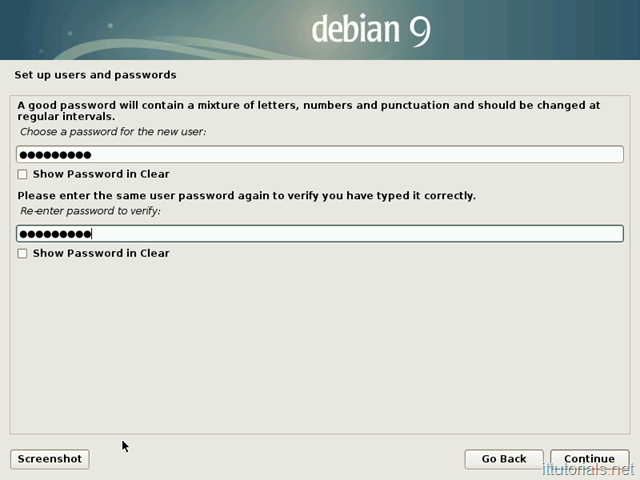
11 ) enter a password for your regular username:
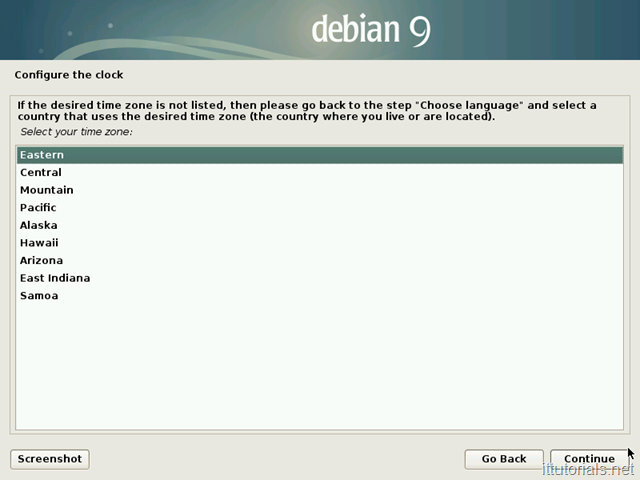
12) Configure the clock. pick your region
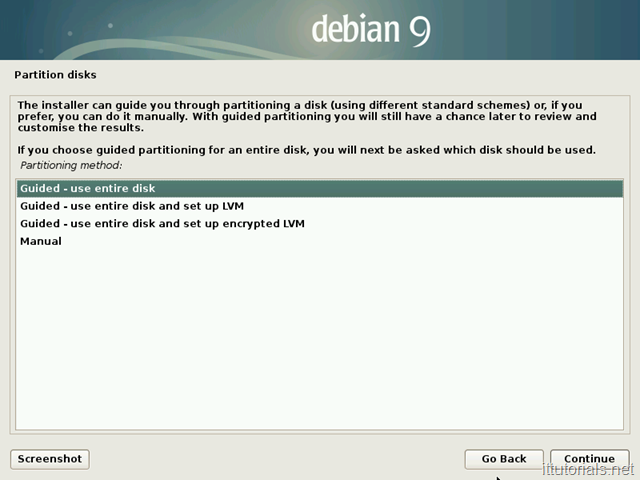
13) Partition your hard drive. If you are setting up the system for a production web server, choose the Manual option and partition the disk so the system runs on its own partition. for example, you can set up a partition configuration like this:
- 2GB for /
- 4GB for /Swab
- The rest of the storage goes to /home
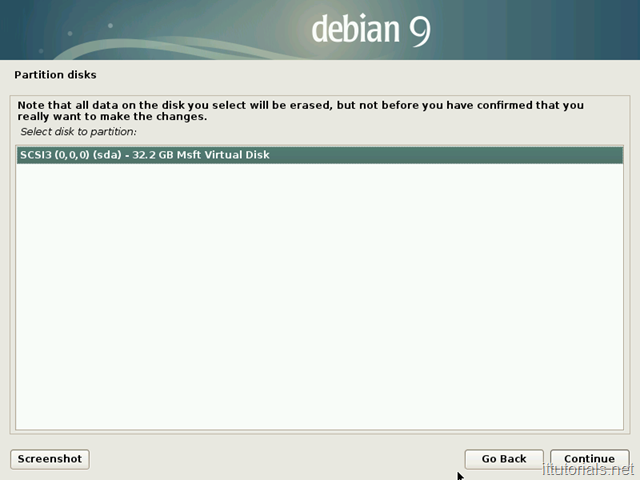
For smaller hard drives like the one I’m using, just choose Guided-use entire disk:
14) Partition disks:
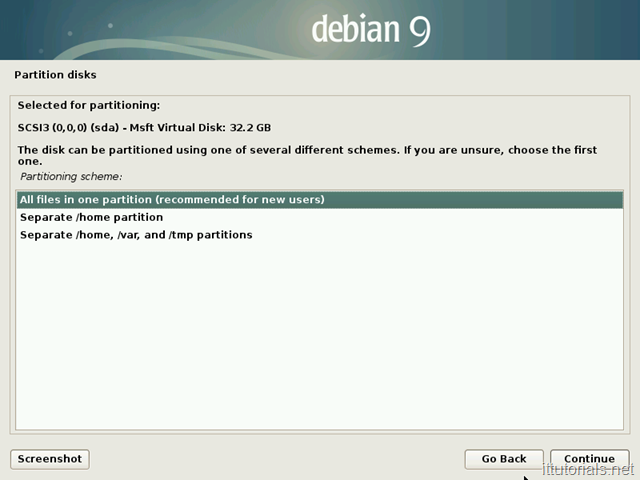
15) Choose your partition schema:
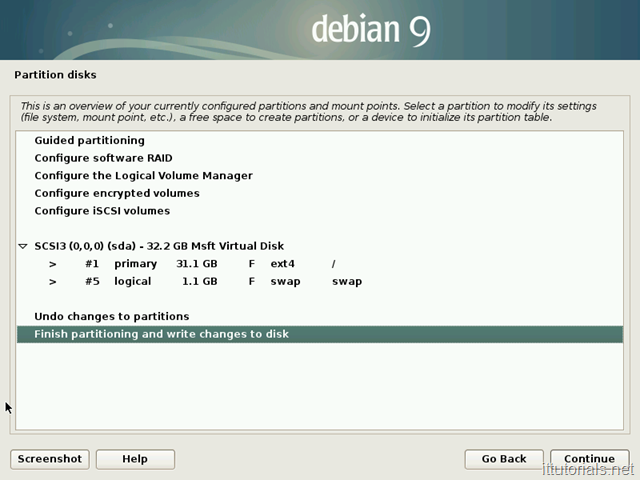
16) Finishing Partitioning and save changes to the disk:
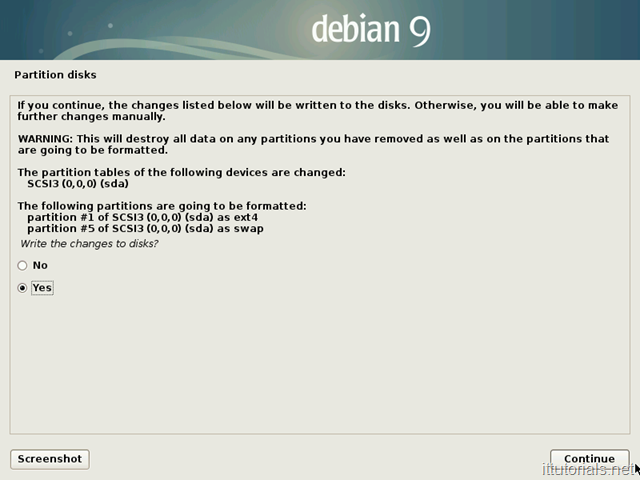
17) confirm the changes
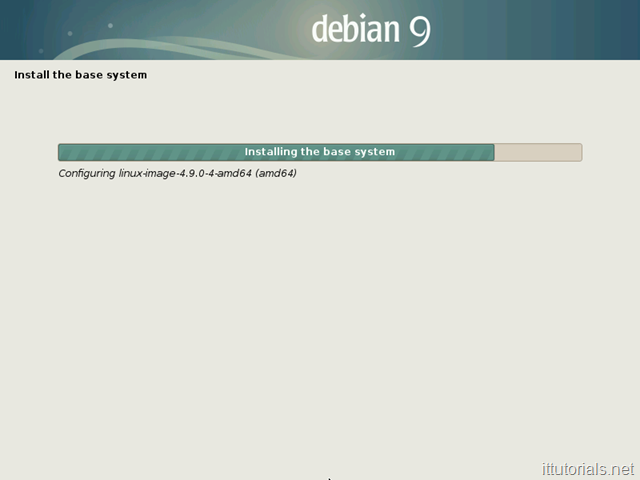
18) The Debian installation should start after that.
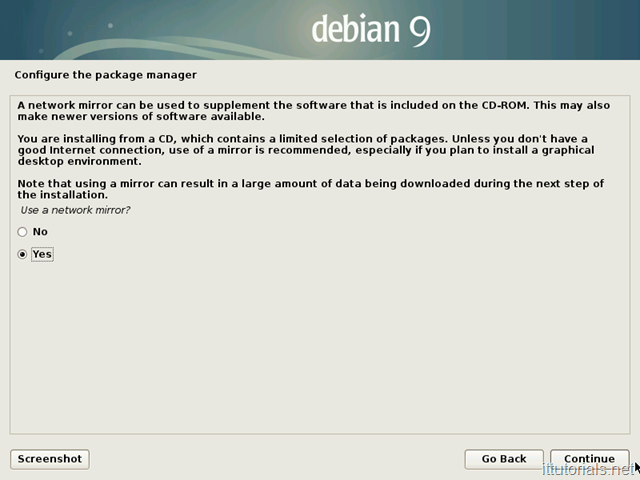
19) After the Debian base system is installed, then you need to choose the package manager:
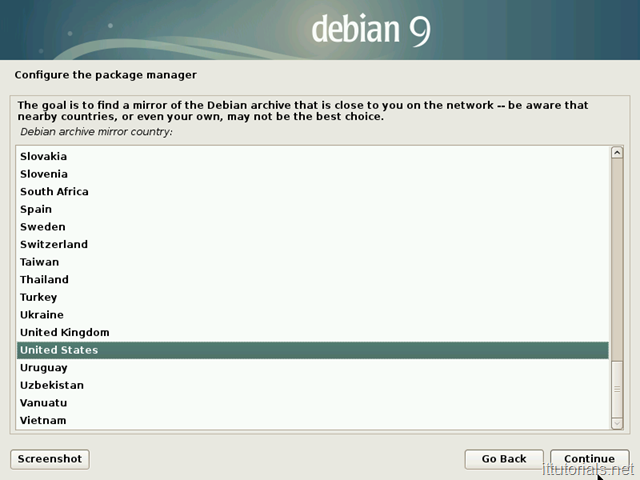
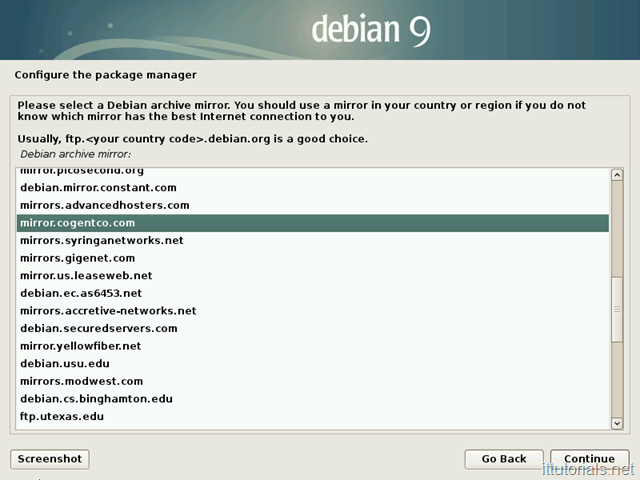
20) Choose the location for your package manager
21) This step is important. Choose the location closest to you. The closest the repository is to your location the faster things will download.
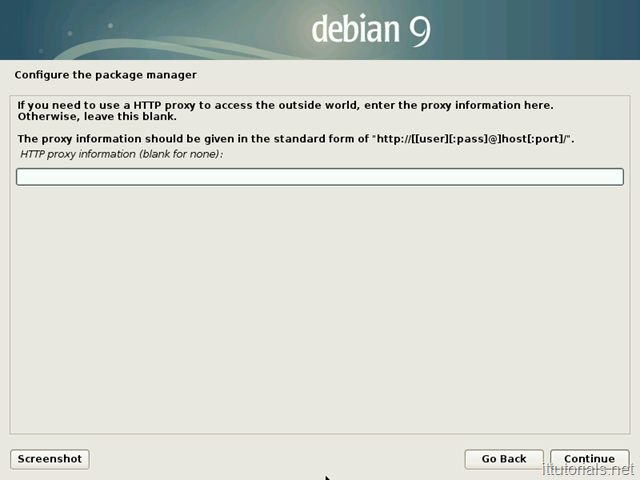
22) Don’t choose a proxy:
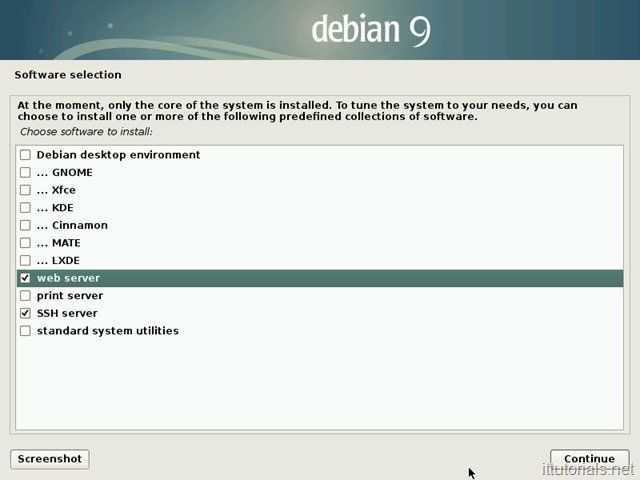
23) Software selection. Uncheck everything but web server and SSH server ( that’s taking into consideration you will need to SSH to the server, otherwise just choose web server )
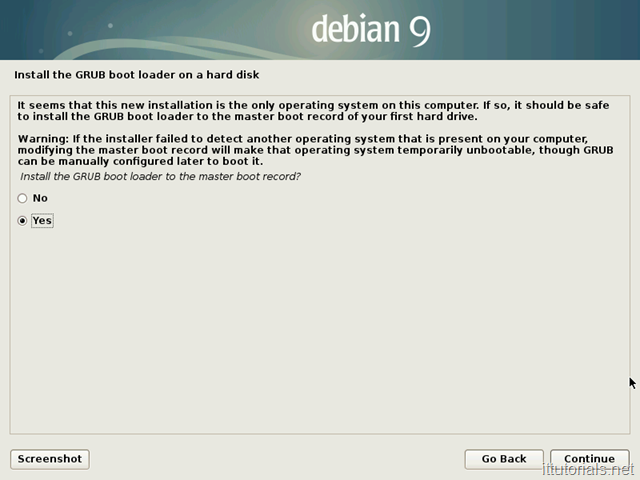
24) Install GRUB:
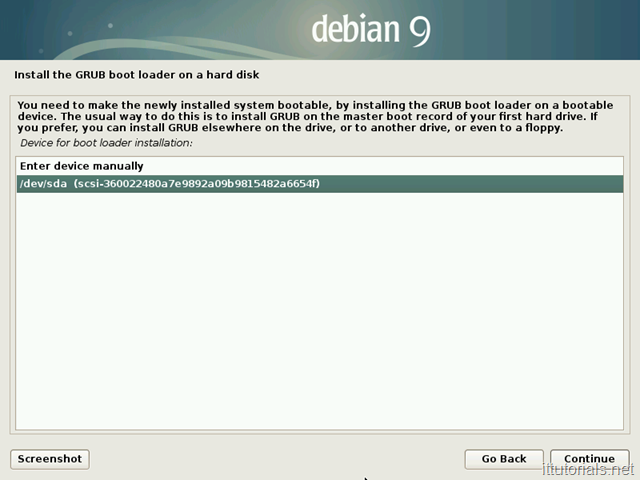
Choose the device where to install GRUB:
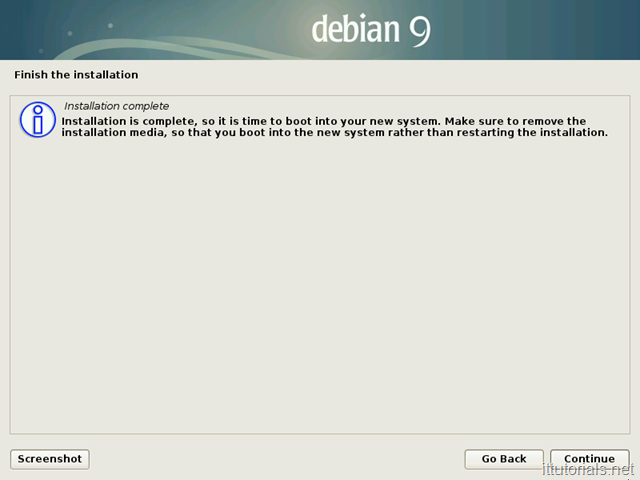
25) And finally, the installation is complete
26) Login to your new system. and type “ip a” to see the IP address assigned to your server:
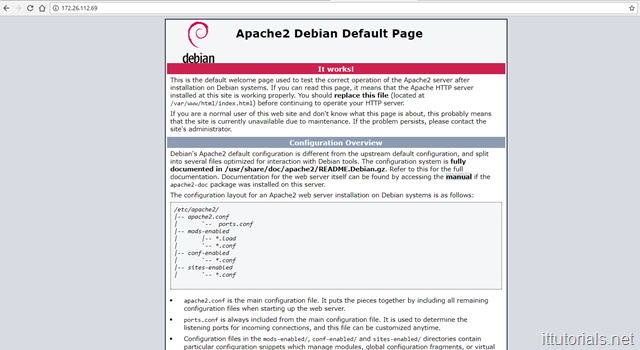
In my case the IP address is 172.26.112.69 if I type that on my computer browser, I get this:
Which confirms that Apache is installed on the server.
Was this article helpful?
Your feedback helps us improve our content.
10 people found this helpful!


