Now that we have Ubuntu and Clonezilla server up and running, is time to get our hands dirty with the real purpose for this thing. if this is the first post that you are reading about this series, I recommend you read the rest of the posts to get acquainted with what I been doing.
taking off from what I left on post # 3, now is time to image our first computer disk. to open the Clonezilla wizard, type this command on the command line in Ubuntu:
sudo /opt/drbl/sbin/dcs
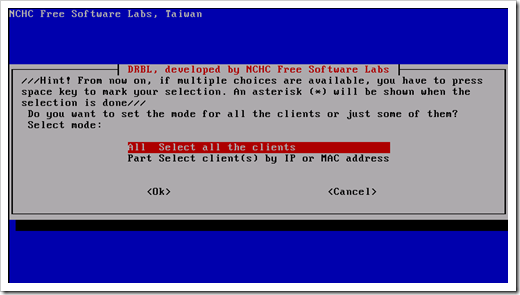
the Clonezilla Wizard should come up. say OK on the default selected option
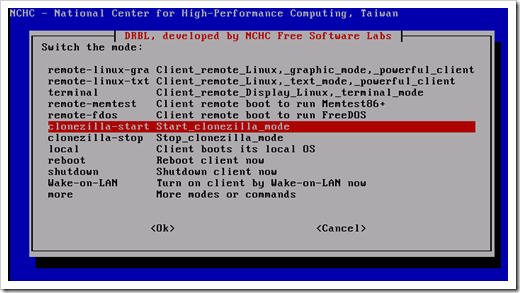
on the next screen select “Clonezilla-start Start_clonezilla_mode “:
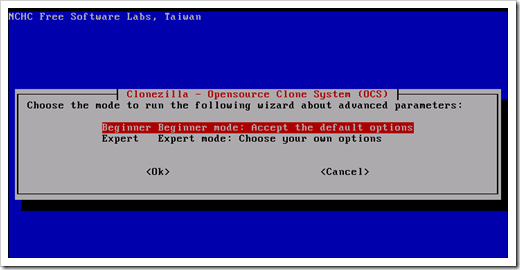
Choose the “Beginner mode” on the next screen:
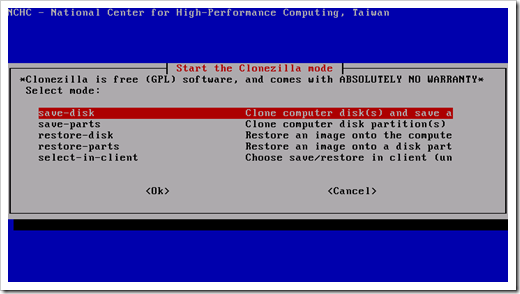
choose “save disk Clone computer disk ( s ) and save “:
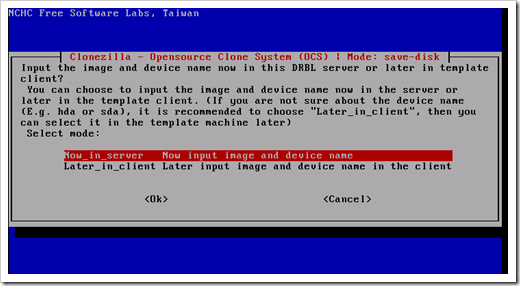
Next you will need to decide if you want to input the image device name now on the server, or if you want to get prompted from the client machine to enter that info. I would rather do it now:
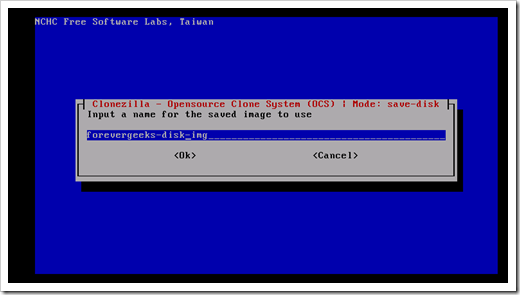
on the next screen, input the name for the saved image you want to use:
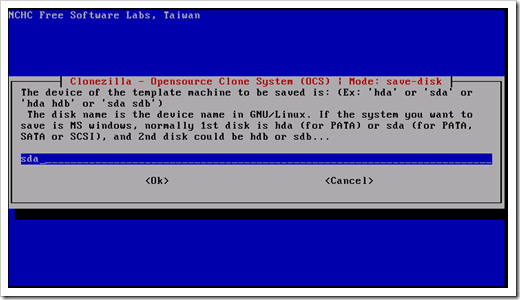
on the next screen, choose the disk type you want to use. for SATA PATA or SCSI drives choose SDA drive type:
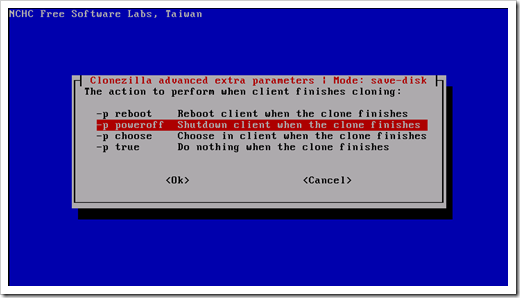
what do you want the client machine to do when the imaging process finishes. choose to power off the machine:
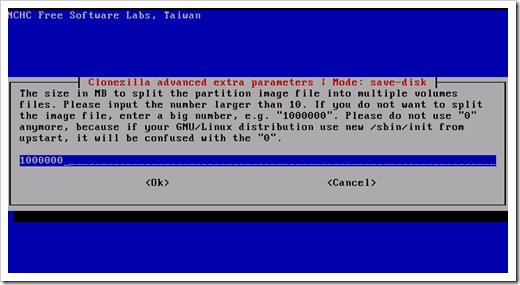
in Clonezilla, you can choose to split the imaged disks if those disks are too big. normally a brand new computer disks are not used up that much, but if for a remote reason your hard drive is humongous choose to split it when it reaches 1 TB of size:
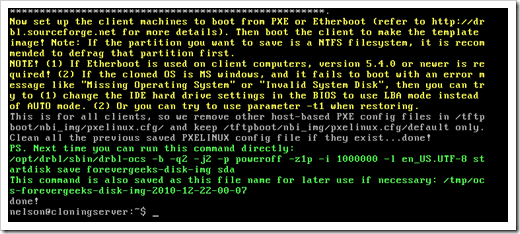
click continue on any other option that come up. now your Clonezilla server should be ready to image your first computer:
cool, now we have Clonezilla server waiting for the computer booting from PXE to get imaged. on the next post we will do that.
Was this article helpful?
Your feedback helps us improve our content.
3 people found this helpful!


