When you start administering Office 365 the need to connect to your tenant through PowerShell will come up. And for a beginner, it might be a bit confusing connecting to Office 365 through PowerShell for the first time. I couldn’t find an easy to follow tutorial when I did it, so I wrote this one to save you some time.
There are two components you need to install on your computer before connecting to Office 365 using PowerShell. The first one is the Microsoft Online Services Sign-In Assistant and the second one is the Azure AD Module
Download and install the Microsoft Online Services Sign-In Assistant component first, and then install the Azure AD Module by opening PowerShell as “Administrator” and running this command:
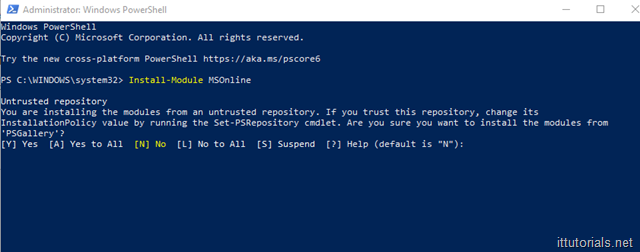
Install-Module MSOnline
Type “Y” if you get a warning like this.
After you have installed those two requirements, type this command in PowerShell:
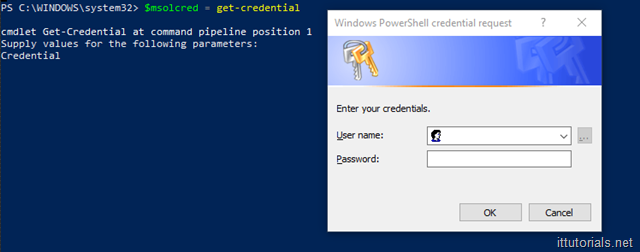
$msolcred = get-credential
You will get a popup to enter your Office 365 admin account:
Then issue this other command:
connect-msolservice -credential $msolcred
And that’s it, you are in.
Test by issuing a command like this:
Get-MsolUser –All
You should get a list of all your user accounts in Office 365.


