If you have recently or are planning to move your On-premise Exchange server to Office 365 Exchange Online one of the first things you will probably need to do is connect to Exchange Online using PowerShell. There are so many administrative tasks that cannot be done through the browser online console and need to be done through PowerShell.
In this tutorial, I will show you how to quickly connect to Exchange Online through PowerShell from your Windows 10 computer.
If this is the first time connecting to Exchange Online through PowerShell, and you are planning to run custom scripts you create or find online, open PowerShell as “Administrator” and run this command:
Set-ExecutionPolicy RemoteSigned
Then to connect to Exchange Online run this command:
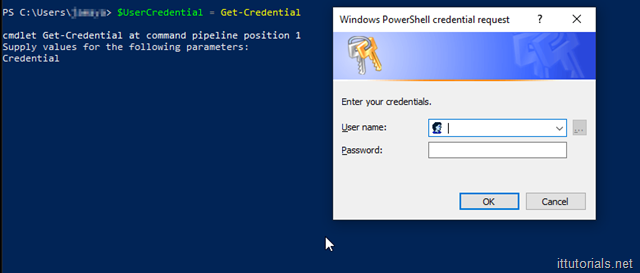
$UserCredential = Get-Credential
You will be prompted for your Office 365 admin account:
Then type in this command:
$Session = New-PSSession -ConfigurationName Microsoft.Exchange -ConnectionUri https://outlook.office365.com/powershell-liveid/ -Credential $UserCredential -Authentication Basic –AllowRedirection
And finally this command:
Import-PSSession $Session –DisableNameChecking
That will create the session for you to start working with your Exchange Online objects. After you are done with whatever you need to do, disconnect your sessions by issuing this command:
Remove-PSSession $Session
That’s it, Enjoy!


