I’ve been running Windows Server 2003 for testing purposes on a VMware Server Machine for a while now, but I never had the opportunity to install an exchange server on it, until today. Even though I have installed exchange server 2003 many times at work, this is the first time I write about the full installation.
Table of Contents
Let’s get started.
To successfully install and configure Microsoft Exchange Server 2003, the following services need to be running on the server 2003 you are planning to install Exchange Server 2003 on:
- Simple Mail Transfer Protocol (SMTP)
- Network News Transport Protocol (NNTP)
- World Wide Web ( IIS)
- Microsoft ASP.NET
- Microsoft .NET Framework
To make sure you have those services installed, go to the Administrative Tools then Services on your server and check everyone one of them. if they are not installed, you will need to install them by following the instructions below.
Installing Necessary Components
On your windows Server 2003 desktop, go to Control Panel then click on Add/Remove Windows Components.
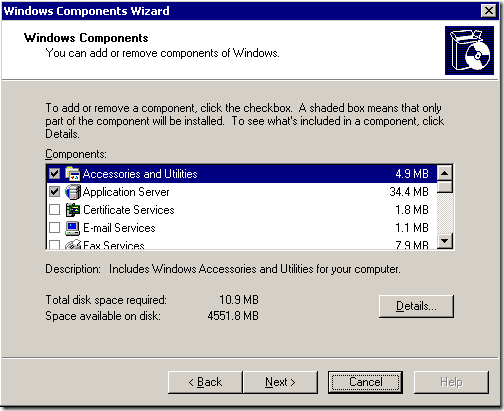
The Windows Component Wizard should come up.
Remember that the ASP.NET,NNTP and SMTP services are found under the application Server applet. you can find the NNTP and SMTP options by selecting the IIS service and click on Details.
Click Next after you select the services.
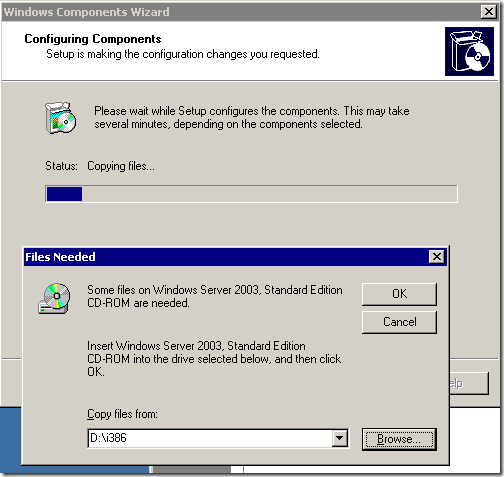
along the way, the wizard will ask you to insert the Windows Server 2003 on the CD-ROM.
Insert the CD, and click OK.
If you don’t have Microsoft .NET Framework installed on the server, you can download it from Microsoft at the following address:
http://www.microsoft.com/downloads/details.aspx?FamilyID=0856EACB-4362-4B0D-8EDD-AAB15C5E04F5&displaylang=en
that’s Microsoft .NET Framework Version 2.0 Redistributable Package. the download should be around 22 MB. download it and install it.
Running ForestPrep
Ok. now that we have the Server 2003 ready to get installed with Exchange Server 2003, we need to extend the the Active Directory Schema so the necessary exchange server classes and attributes are added.
to do that, we need to run the ForestPrep command.
I will talk in details about ForestPrep in another article but for now just go the command prompt and type the following command:
D:SETUPI386setup /forestprep
(that’s assuming you have the Exchange Server CD on the D: Drive)
the Exchange Server 2003 installation wizard should come up.
(is very important that you run the ForestPrep command, otherwise the Forestprep option won’t come up on the wizard)
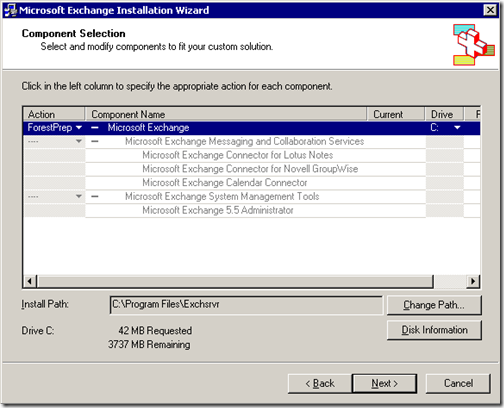
Make sure ForestPrep is selected and click Next. select the path on the following window. default path should be fine, and click Next.
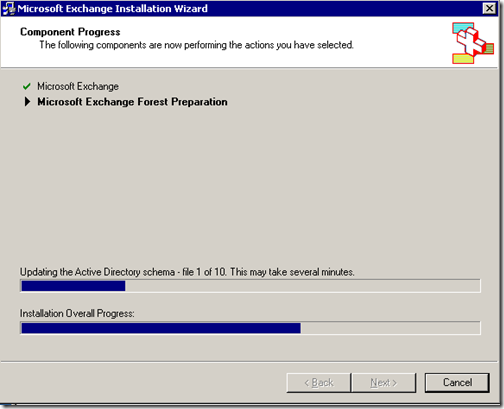
the Microsoft Exchange Forest Preparation should start:
after awhile you should get the notification that the wizard has finished.
Running DomainPrep
Now that we have ran the forestprep command, we need to run the Domainprep command. by running Domainprep we will create the necessary active directory groups and permissions that exchange server 2003 will need to run.
to run the domainprep command, open the command prompt and type the following command:
D:setupi386setup.exe/domainprep
(remember the letter D: is the CD on your server CD-ROM)
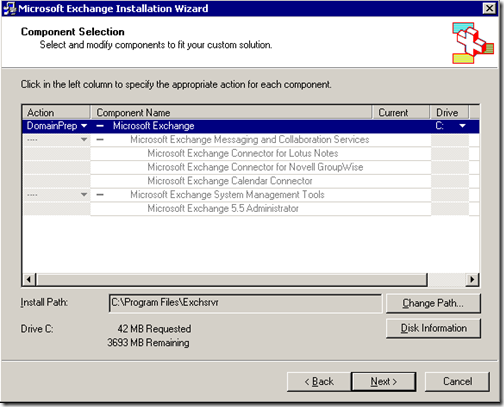
the exchange server 2003 installation wizard will come up, follow the wizard until you get to the following window:
Make sure the DomainPrep option is selected, and click Next.
the DomainPrep should get installed.
Installing Exchange Server 2003
Now we should be ready to install Microsoft Exchange Server 2003 for the first time.
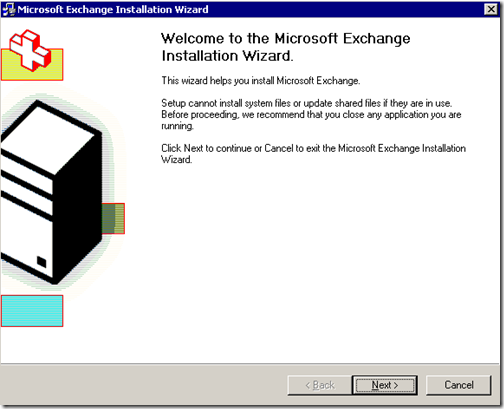
Pop-in the Exchange Server 2003 CD on the CD ROM, click on the setup file, but the setup file on the SETUPI386 directory. the following window should come up:
Click on Next.
The Agreement window will come up. click on Next.
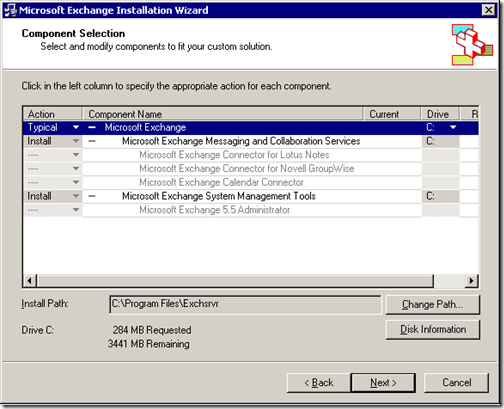
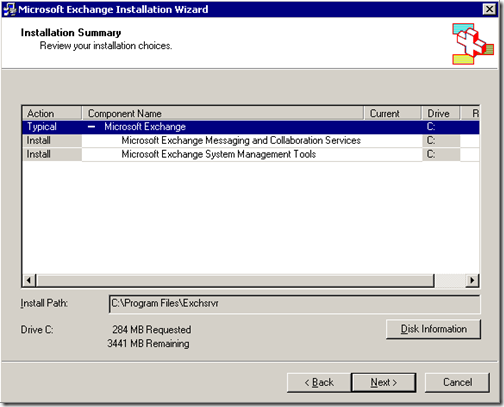
Next, we will need to select what type of exchange installation we want. select the Typical option, and make sure Microsoft Messages and Collaboration services is selected as well as Microsoft Exchange System Management tools are set for Install.
also, choose the Install Path. if you have another drive on your server, you can install exchange there.
after choosing your settings, click con Next.
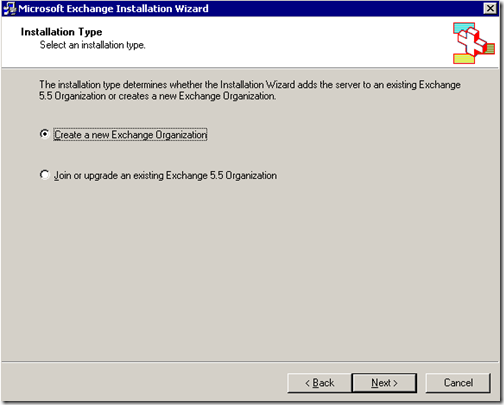
Next, Exchange will ask you the following options:
- Create a new Exchange Organization
- Join or Upgrade an Existing Exchange 5.5 Organization.
Select the option, Create a new Exchange Organization :
Click on Next.
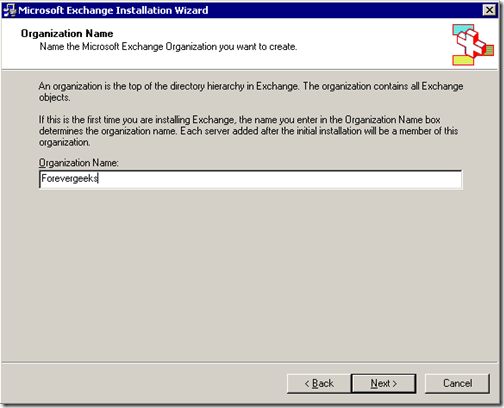
Next, you will need to enter the Organization Name. this is the organization name all exchange servers on your domain will use.
Click Next, after choosing the organization name.
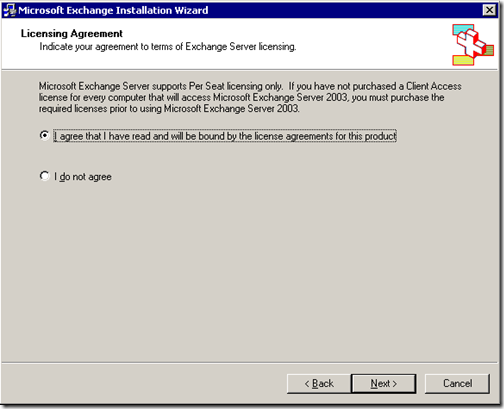
Next, accept the license agreement:
Click to agree the license agreement. then click Next.
Next, you will get the Installation summary.
click Next to start the installation.
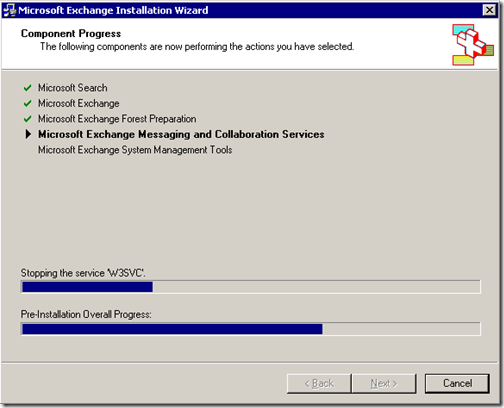
Microsoft Exchange 2003 should start installing… depending on your server speed, that should take awhile.
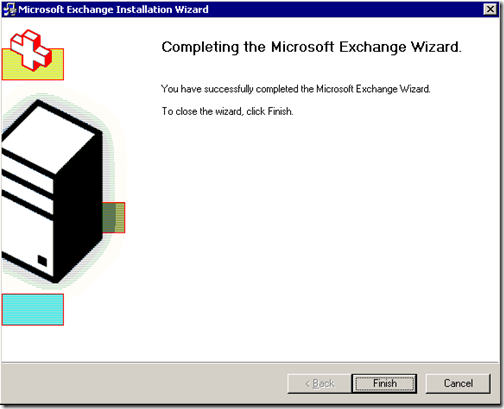
after a long while, the finish window should come up:
Your Exchange Server 2003 is now installed.


