Now that we got Ubuntu server up and running, is time to install Clonezilla server. if you haven’t read the first two posts on the series, I recommend you do. here are the links:
the first thing we need to configure on Ubuntu server is the two Ethernet cards required to successfully install Clonezilla. if you don’t have two physical Ethernet cards on your server, don’t worry, I don’t either. I will be using one physical card, and one virtual Ethernet port on my server. let’s begin.make sure your Ubuntu server is up and running then type the following command:sudo nano /etc/network/interfacesnow we need to change the Ethernet settings from DHCP to static. also we need to add the virtual Ethernet port we will need to successfully run Clonezilla. ( please notice that your network settings might be different than mine, so please adjust your settings accordingly)on your primary network interface change the settings from this iface eth0 inet DHCP to this iface eth0 inet static then add the following settings underneath:
address 192.168.1.5
netmask 255.255.255.0
gateway 192.168.1.1
add the virtual Ethernet port right after the primary network interface information like this:
auto eth0:0
iface eth0:0 inet static
address 192.168.2.5
netmask 255.255.255.0
your entire file should look like this:
save the file and exit.
restart the network services in Ubuntu by typing the following command:
sudo /etc/init.d/networking restart
then type the ifconfig command and see if the new Ethernet settings show up in the network settings:
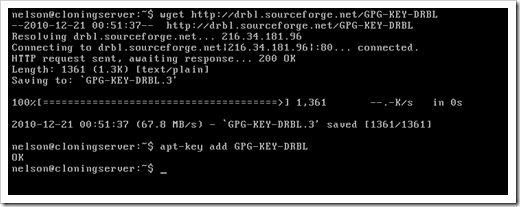
now let’s grab the keys for the Clonezilla repository. to do that, type the following two commands:
wget http://drbl.nchc.org.tw/GPG-KEY-DRBL
and
sudo apt-key add GPG-KEY-DRBL
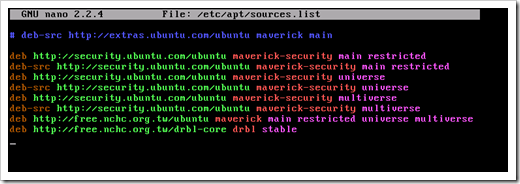
now we need to add the Clonezilla repositories to the source list. to do that, type the following command:
sudo nano /etc/apt/sources.list
and right at the bottom of the file, add these two URLs:
deb http://free.nchc.org.tw/ubuntu maverick main restricted universe multiverse
deb http://free.nchc.org.tw/drbl-core drbl stable
save file and then exit.
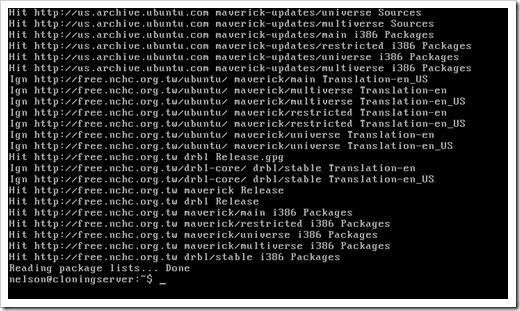
now we need to update the list by issuing the following command:
sudo apt-get update
the source list should be now updated.
now let’s install the DRBL server on which Clonezilla server runs upon. to do that, type the following command:
sudo apt-get install drbl
DRBL and dependencies should be now install. now lets run the configuration wizard. type the following command:
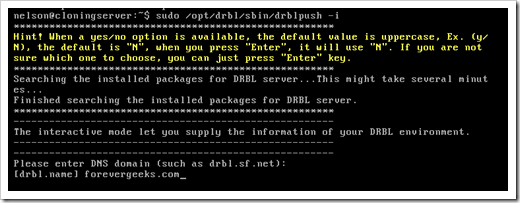
sudo /opt/drbl/sbin/drblpush -i
Enter the domain name of your environment. if you don’t have one, enter anything :
Enter the NIS name. again if you don’t know what this is, or don’t have one, put whatever:

next you will be asked to enter the prefix you want for the hostnames you will be cloning. just hit the Enter key.

this next step is very important. you are asked which Ethernet you want to use for the public, and Clonezilla server. Choose Eth0 for public and Eth0:0 for the DRBL environment:

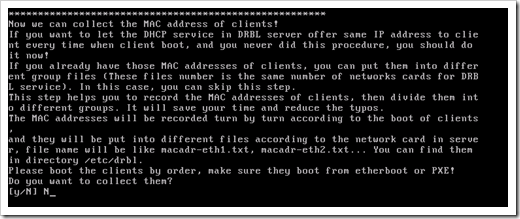
next the wizard will ask you if you if you want to collect the MAC addresses of the computers you will be cloning. choose NO
next you will be ask, if you want to assign the same IP address to clients. say NO
next choose the IP range you want to use for clients to connect. I’ll choose 10 . this basically will make DHCP on the DRBL start assigning IP addresses from 192.168.10 and so forth.
How many computer are you going to be connecting to this server? 12 works fine for me.
Say YES to the following question:
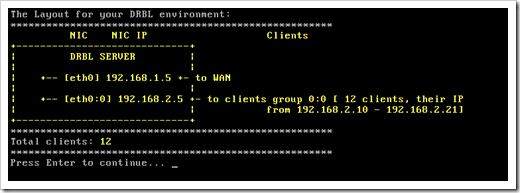
you will get the layout for your DRBL environment. press Enter.
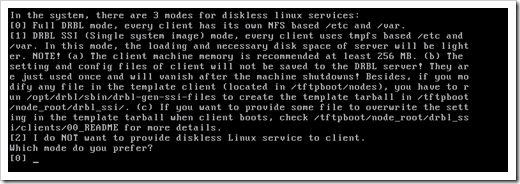
choose 0 in the next question. we want the full mode.
choose 0 on the following question as well. full Clonezilla mode:
Choose the image location on the next option. this is where your computer images will be saved. I leave the default.
Say NO on the following question:
Choose 1 on the following question:
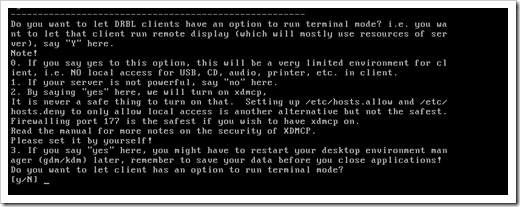
choose 0 on the following question:
choose NO on the following question:
Say NO on the following screen as well:
Say YES on the following question:
say NO to the next question:
Say NO to the following screen as well:
Say NO to the following question:
Say NO to the following question:
Next you will be asked if you want to use the Clonezilla server as a NAT server. say NO
press ENTER to continue:
and finally we are ready to deploy the files to the system. say YES
this post has gotten too big, so I will continue this tutorial in another post.
Was this article helpful?
Your feedback helps us improve our content.
33 people found this helpful!


