

If you have office 2010 with a volume license product key and want to automate the installation process then hang on, I will show you how to do the whole thing in this post. customizing office 2010 installation have some benefits. some of them are:
- No need to enter Username, company name, and other repetitive information during the setup.
- No need to enter a product key to activate office during the installation
- Outlook can be automatically configured with exchange, so Outlook does not need to be setup with exchange every time you install office. the exchange parameters are picked up by Outlook automatically .
Overall it is just cool to install office 2010 with only one click. let’s begin with the customization.
I assume you already have a DVD with Office 2010, or you already downloaded the office suite software from Microsoft. copy those files from the DVD to a directory on your computer, or a shared drive on the network.

Now from your RUN command type the following command forevergeeks.com/softwaremicrosoftofficeofffice2010setup.exe /admin ( substitute my example with your actual office installation path ) for example if your office installation files are in a directory called “software” on the C drive, you will type c:softwaresetup.exe /admin.
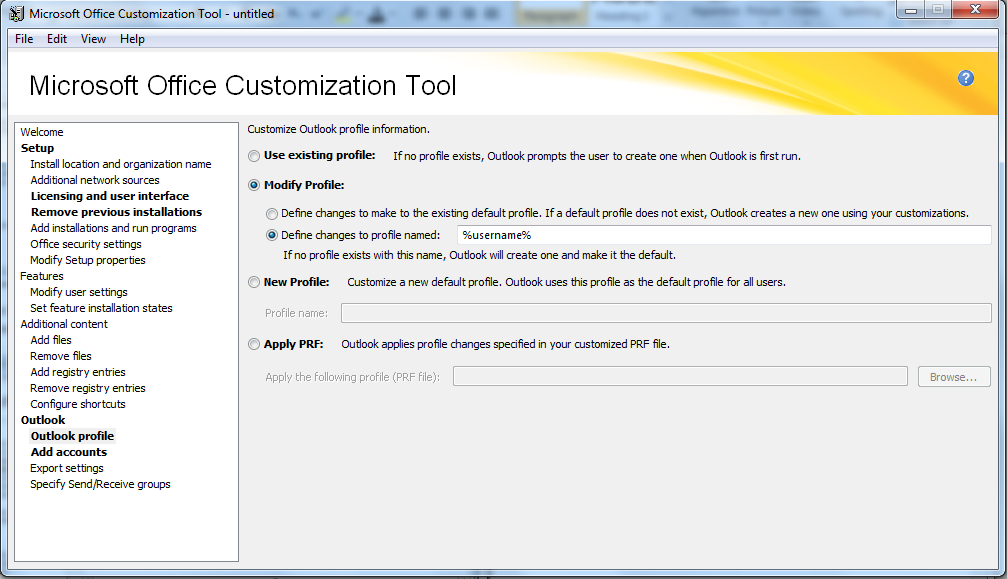
the Microsoft Office Customization Tool will come up:
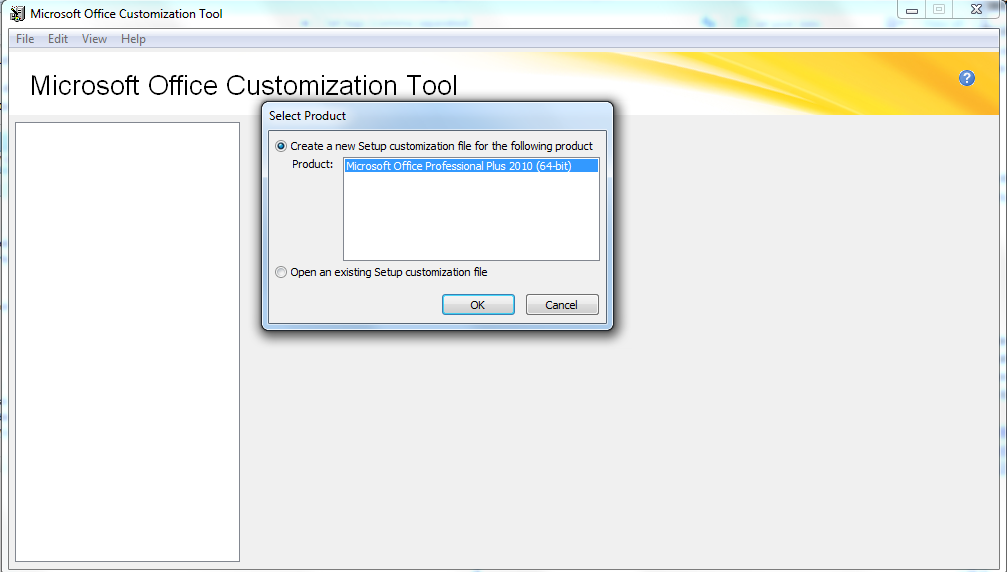
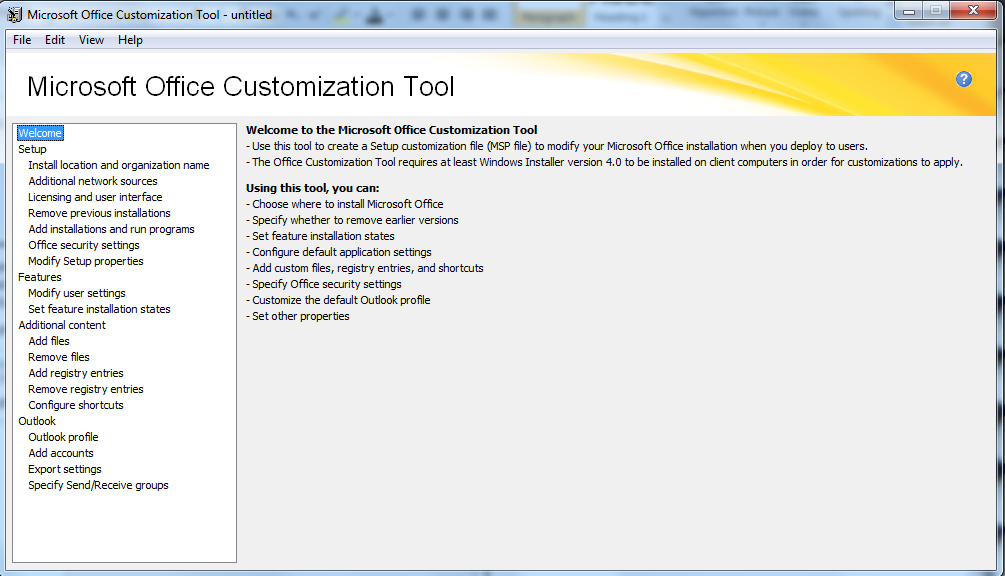
click OK to create a new “setup Customization file. now you should be at the welcome screen:
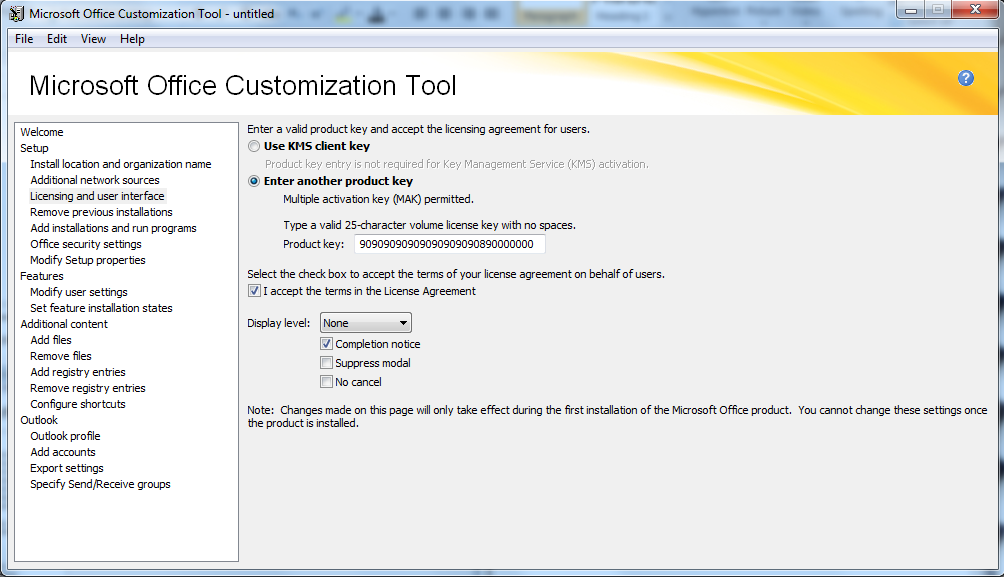
Under the setup, click on licensing and user interface, and select “Enter another product key” enter your volume license product key, and check “accept the terms in the license agreement” and the under the “Display level” choose None and check the box “completion notice” that is if you want to get notified when the office installation completes:
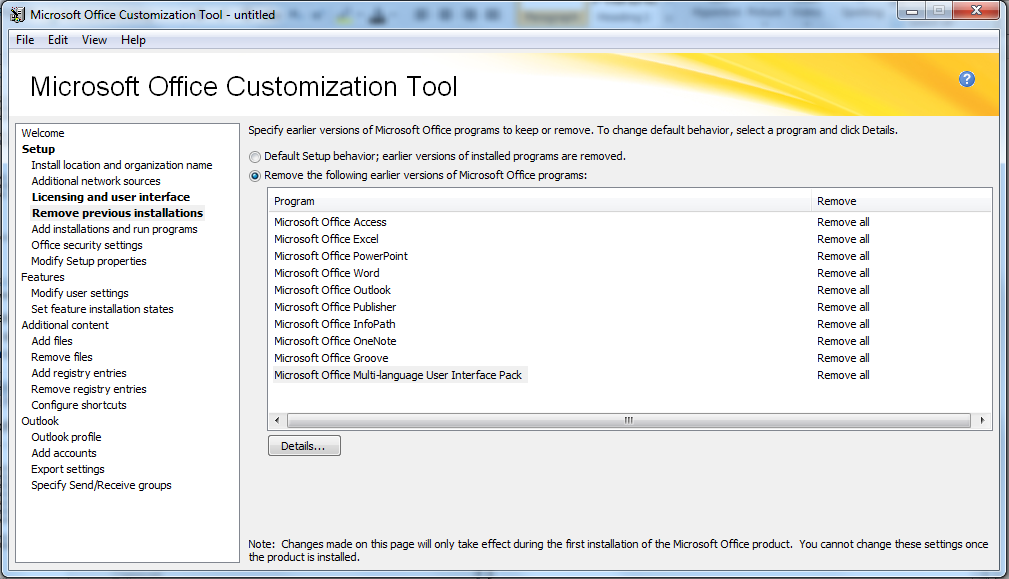
now click on “remove previous installations” and choose the current office suite applications you want uninstall when installing the office 2010 suite. if you want to uninstall the entire previous office installation, then leave the default:
now lets customize Outlook to connect to exchange server without asking for server, and username. under Outlook click on “ Outlook profile” then on the right panel, check the box that reads “ customize a new default profile. Outlook uses this profile as the default profile for all users. type “%username%” on the field:
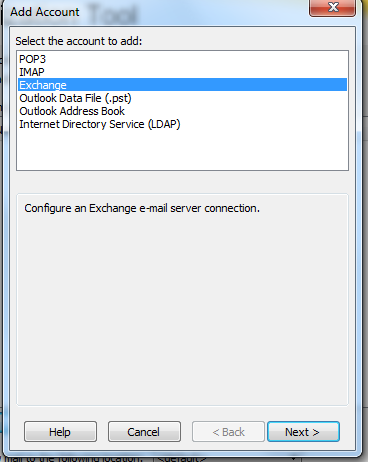
click on “Add account” then click on Add… select Exchange from the pop-up window, and click on next:
under the exchange settings, type the account name, and the exchange server name:
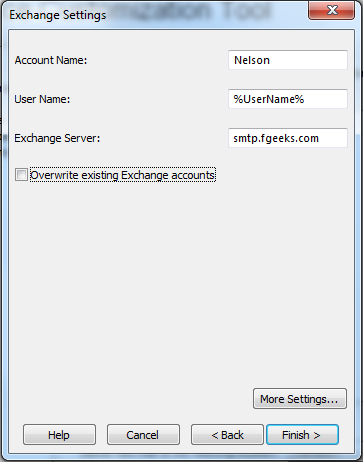
if you want to configure Outlook Anywhere, click on “More Settings… then enter the URL for your Outlook Anywhere:
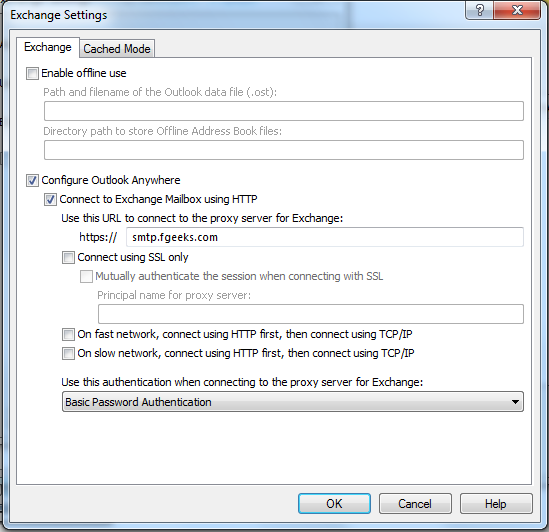
click on the “Cached Mode “ tab and check “configure Cached exchange mode. click on OK, and then click on finish.
save the settings by going to file and then Save Us, and name the custom installation file.
now you should have a custom SMP file on your office installation folder. use that file to install office with these customized settings above.
Was this helpful?
0 people found this helpful